 Buy Pattern
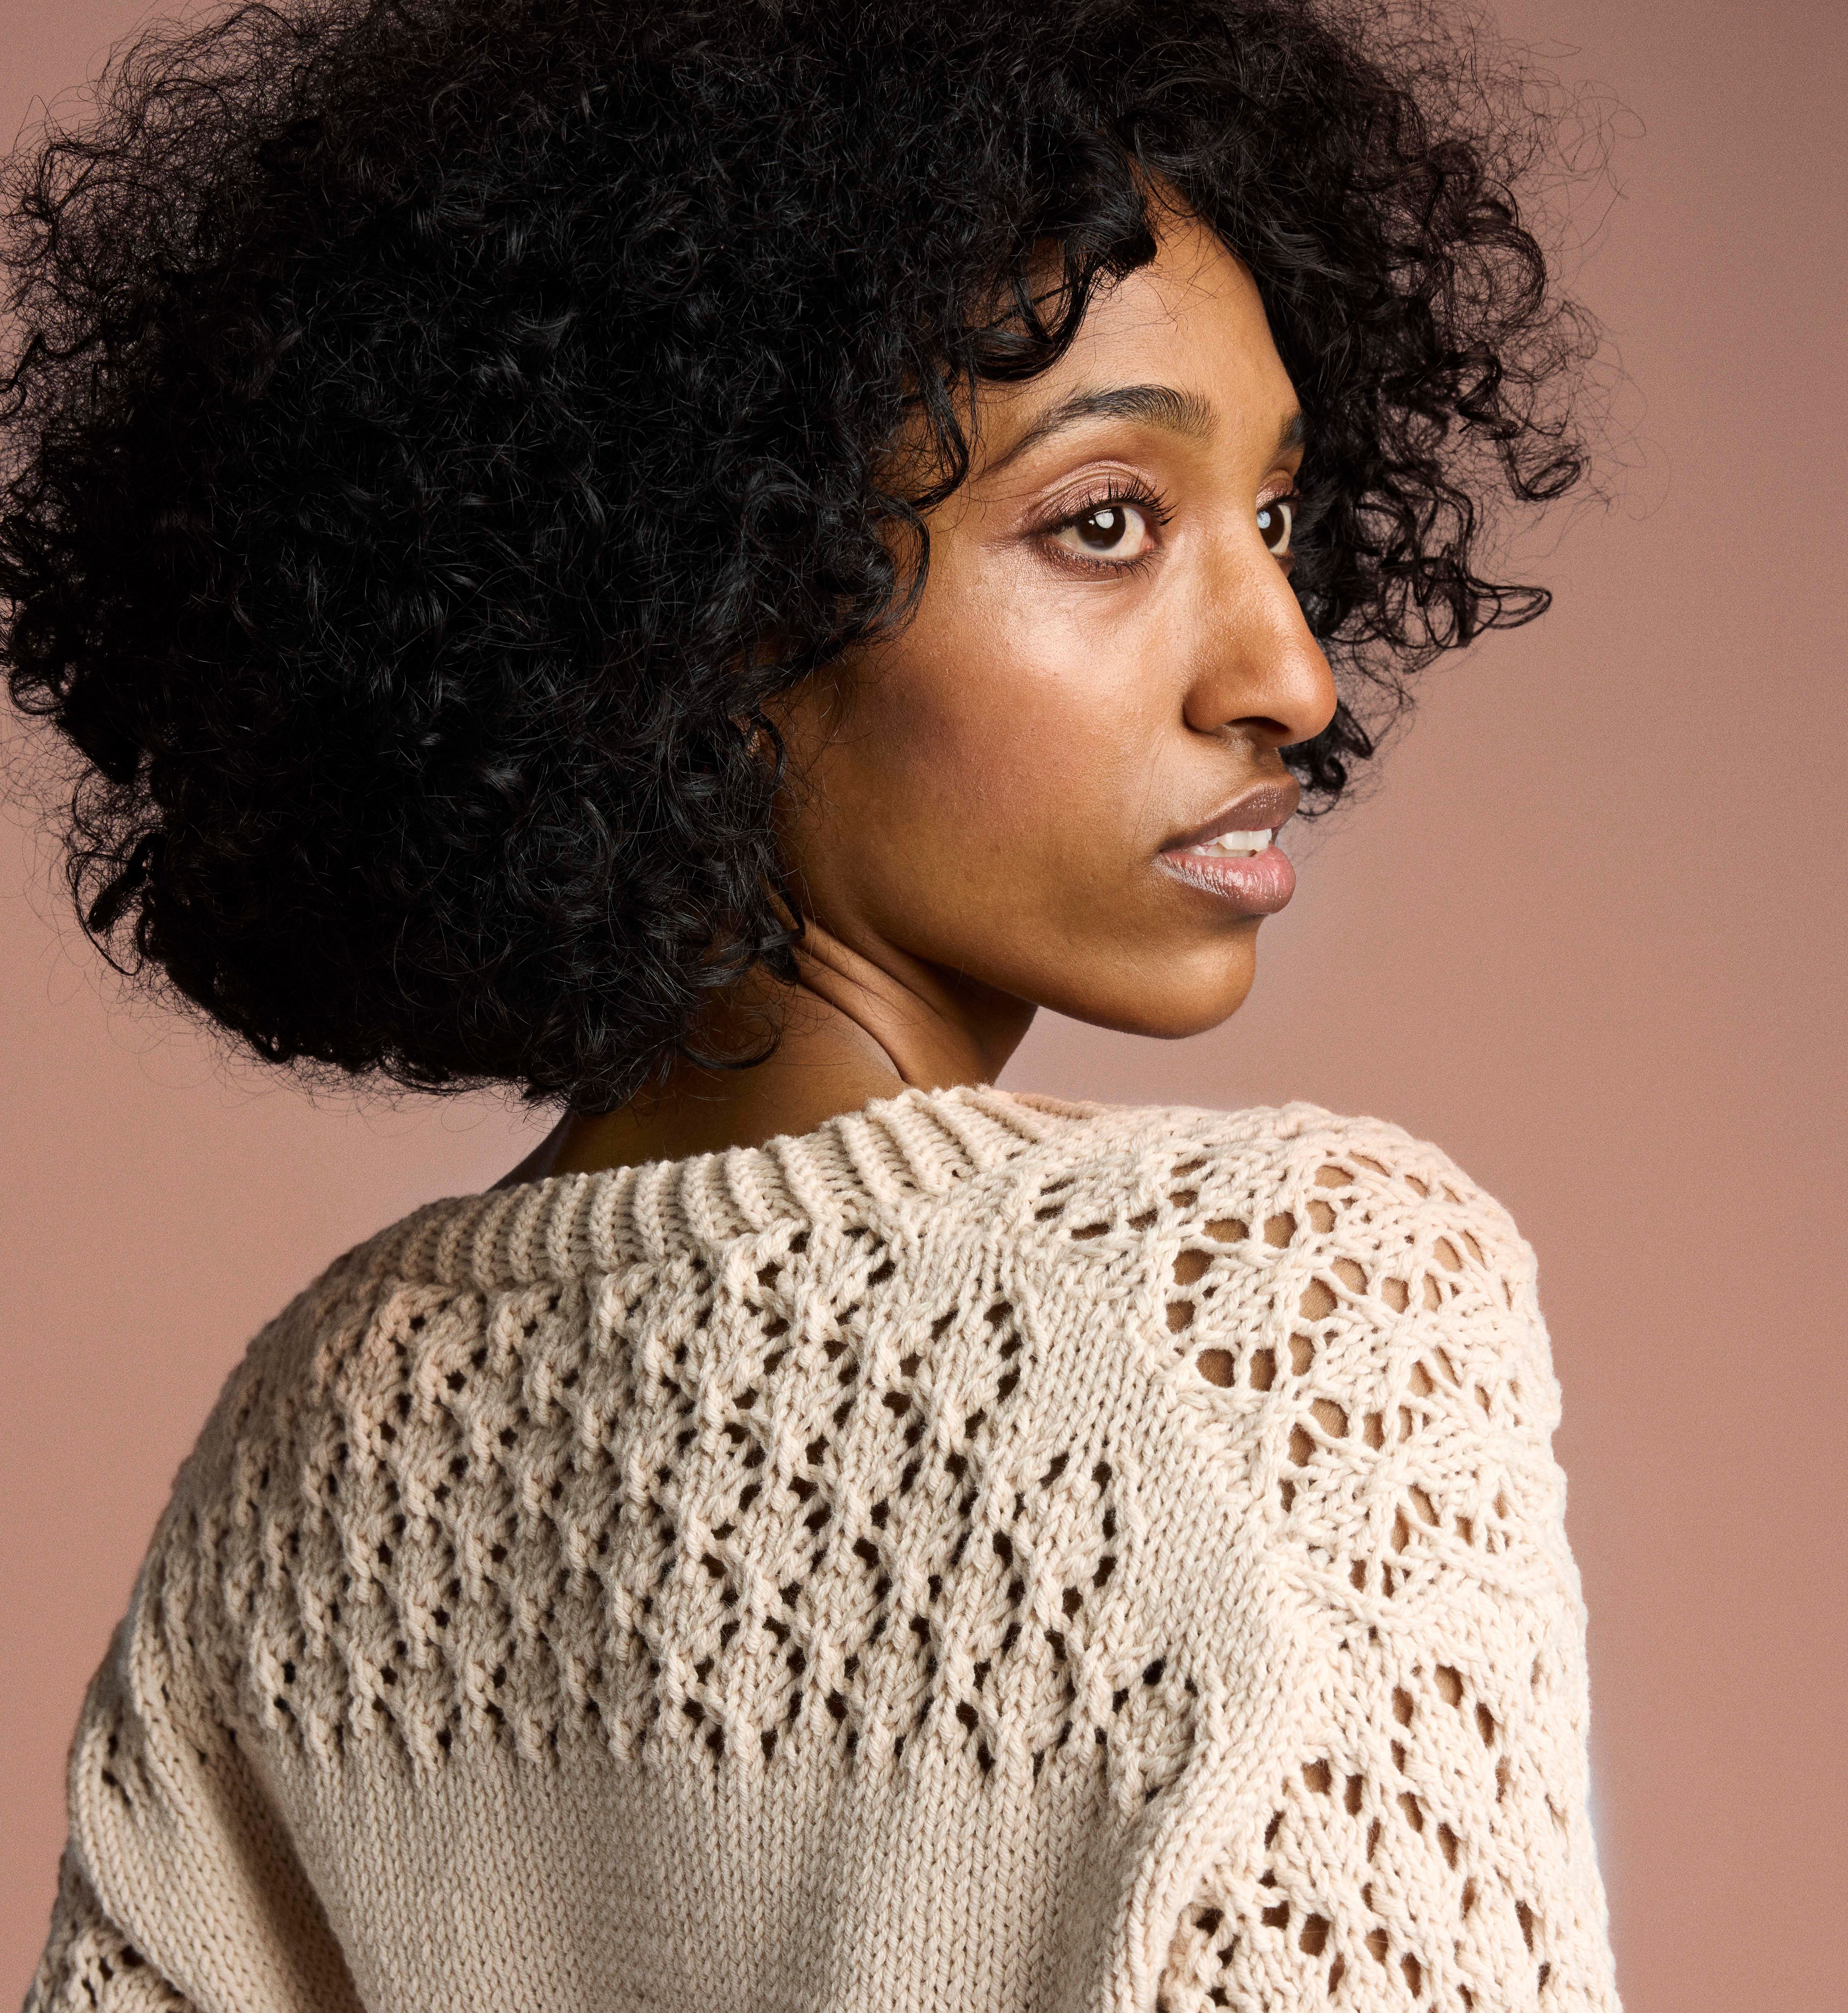
Intermediate
Browse our beautiful summer patterns and order Yarn of the Month, Novita Woolly Wood at 20 % off!
See Patterns & Buy YarnsCome and crochet with us! On 12 April, Novita's new Crochet-along started, where we crochet a beautiful cardigan in Novita's new Aura yarn.
Buy yarn and join us!
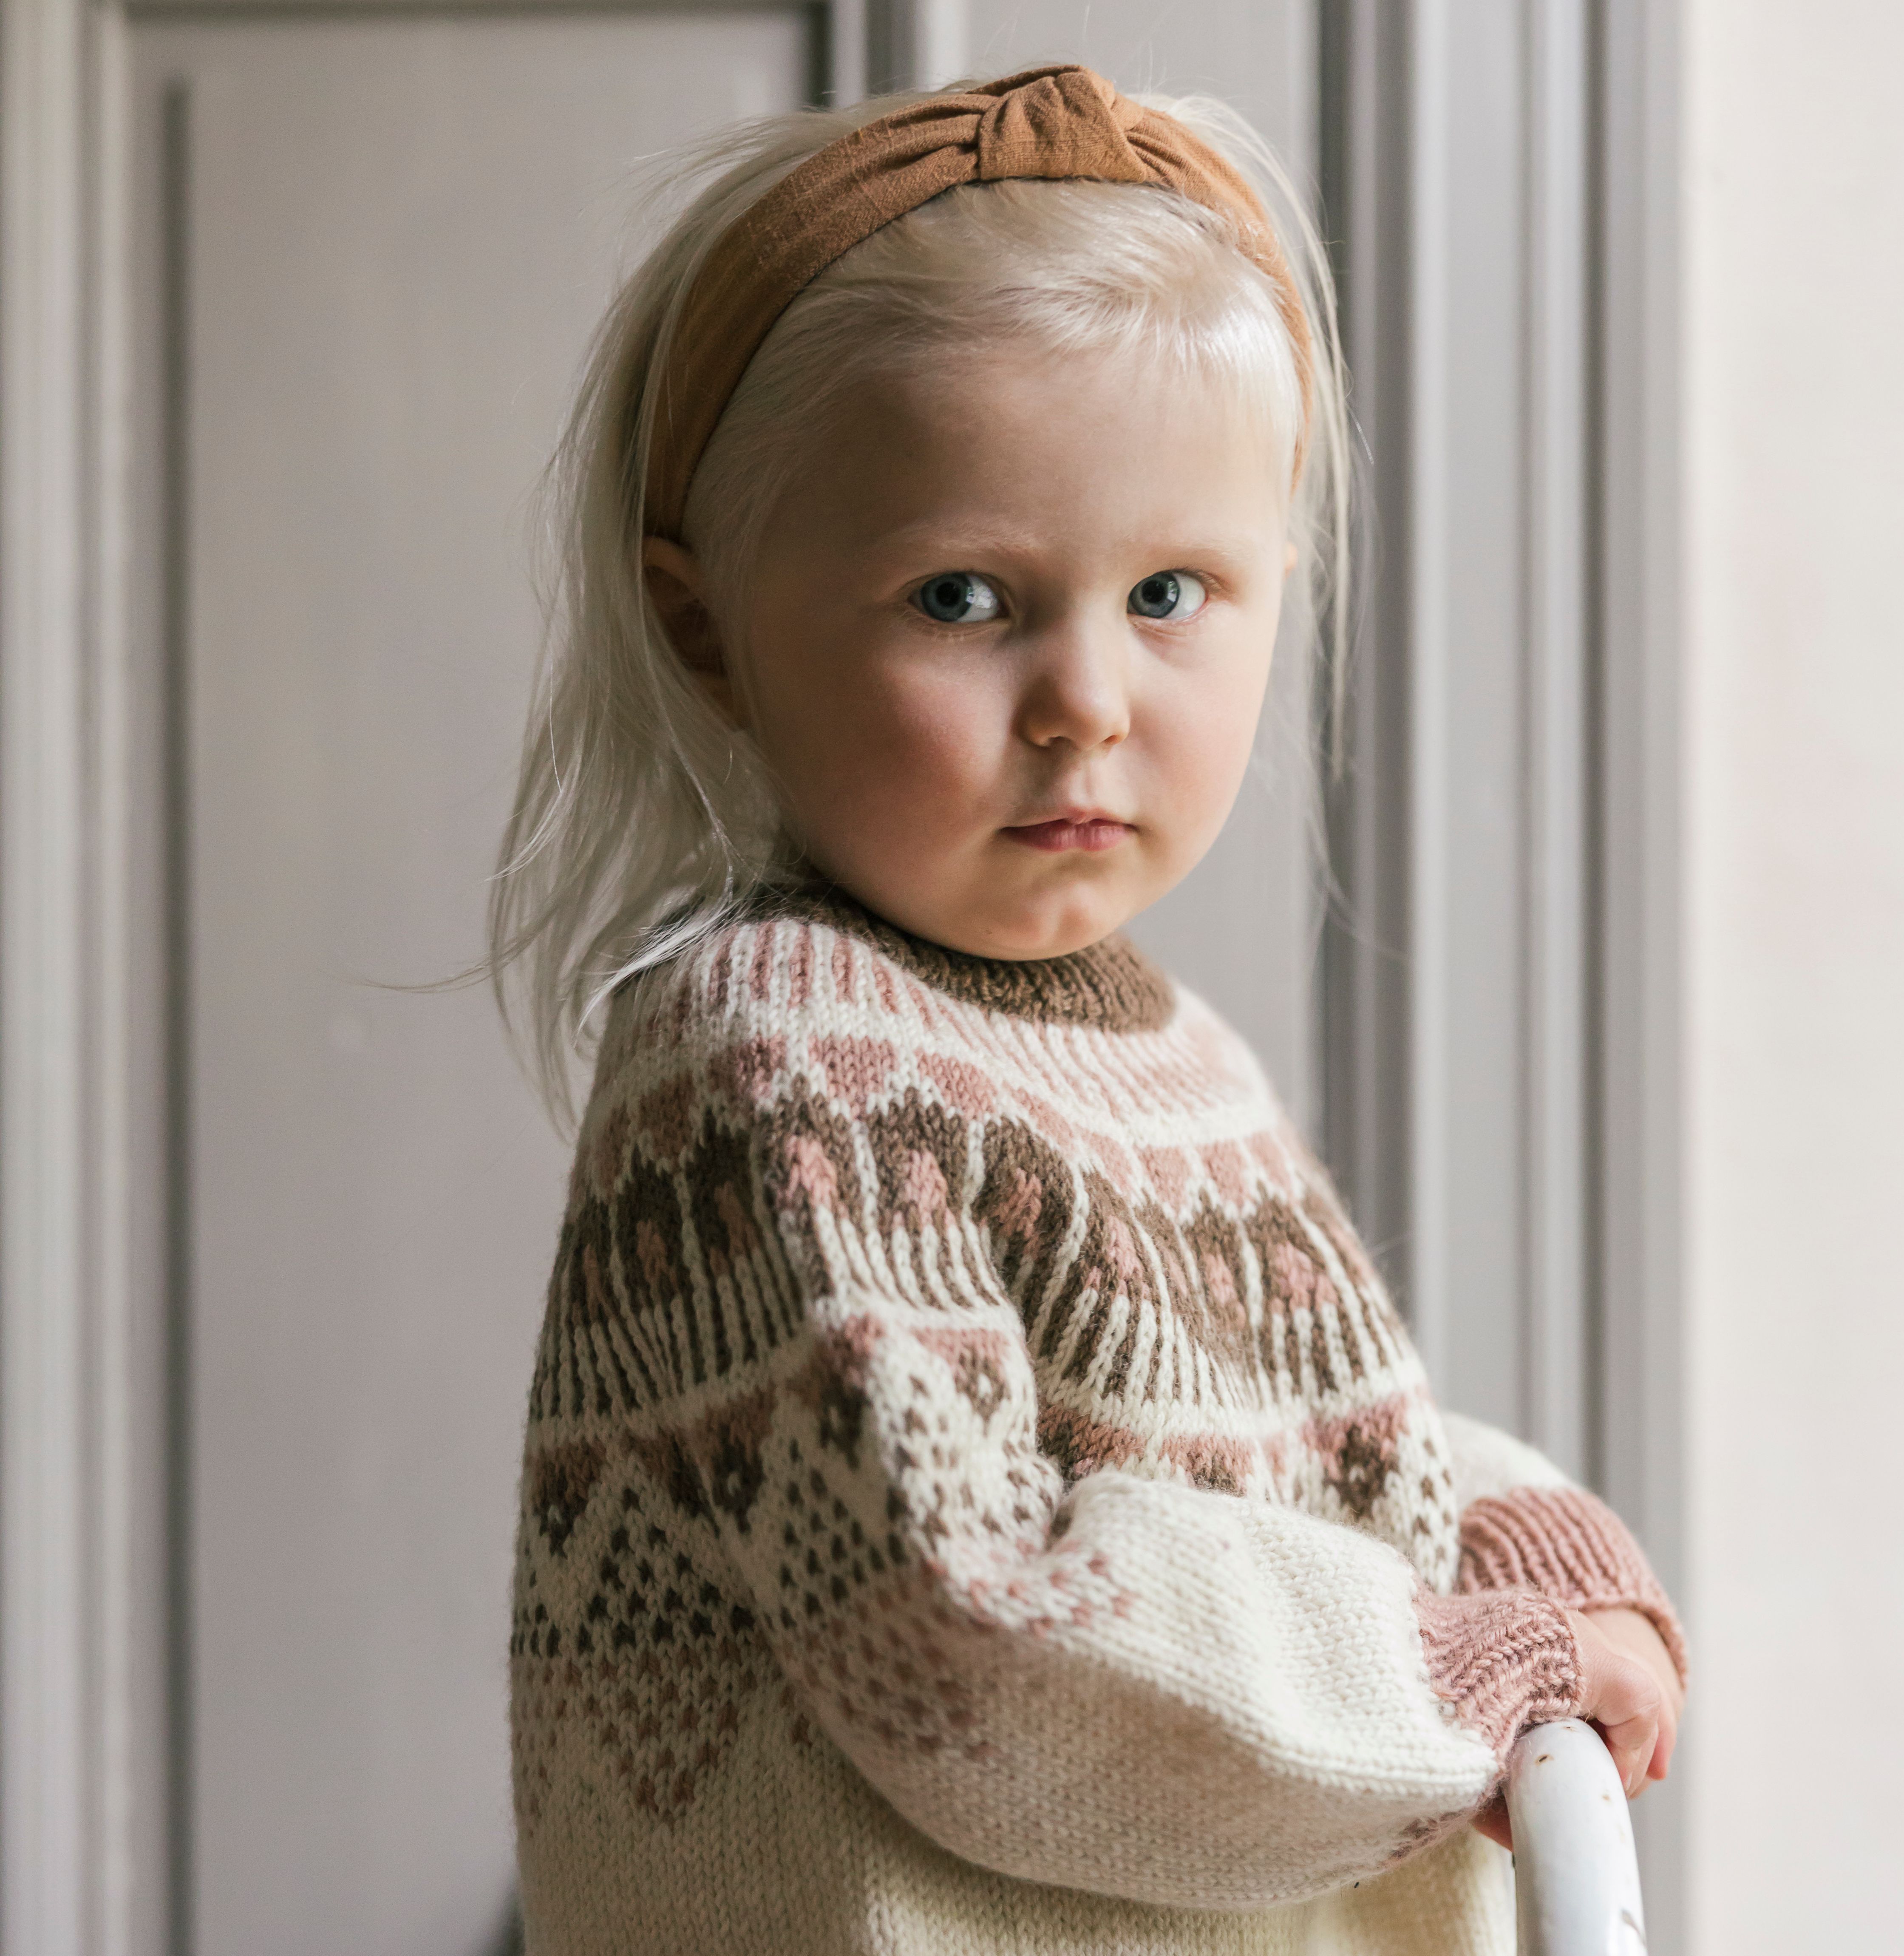
Knitting for your little one is both cosy and easy! With Novita's Baby Box you get a complete set for baby!
The spring Baby Box is out now and contains only soft natural materials of the highest quality. The box contains yarn and patterns for eight lovely baby garments and accessories.
In addition to the spring box, you will also find an autumn version of the box and a smaller set of patterns and yarn for a beautiful crocheted baby blanket!
Translated with DeepL.com (free version)
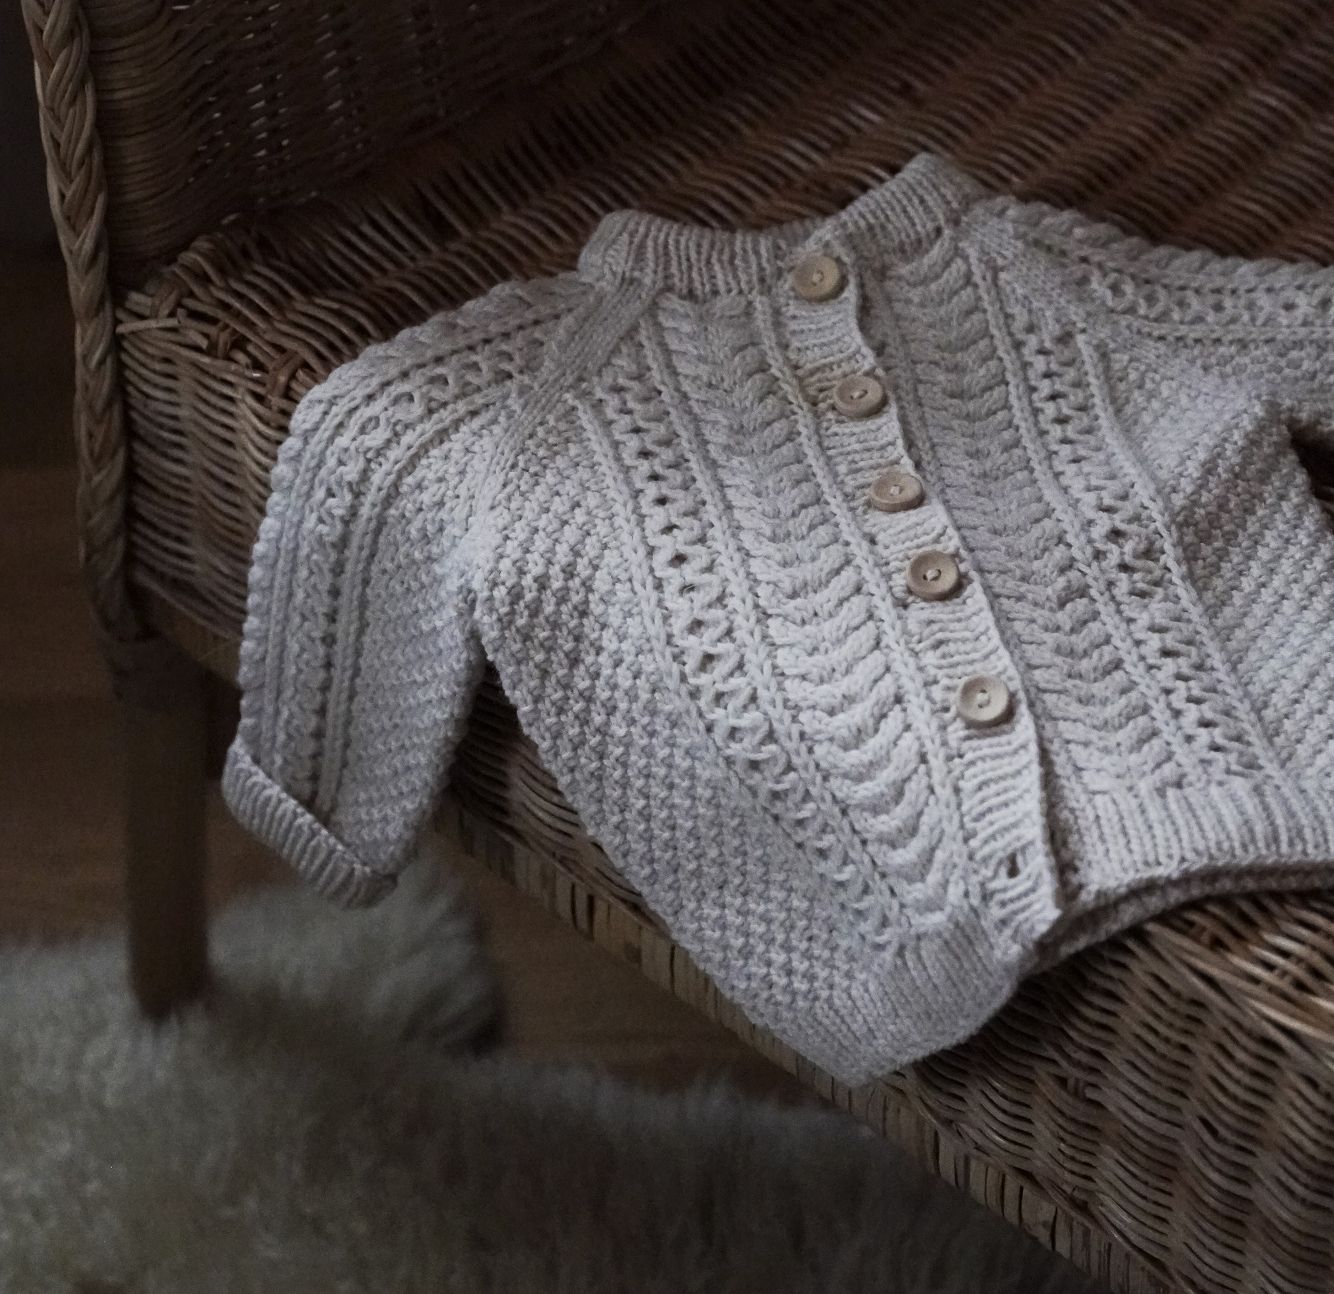
Buy PatternTime to cast on for your first summer project!
 Buy Pattern
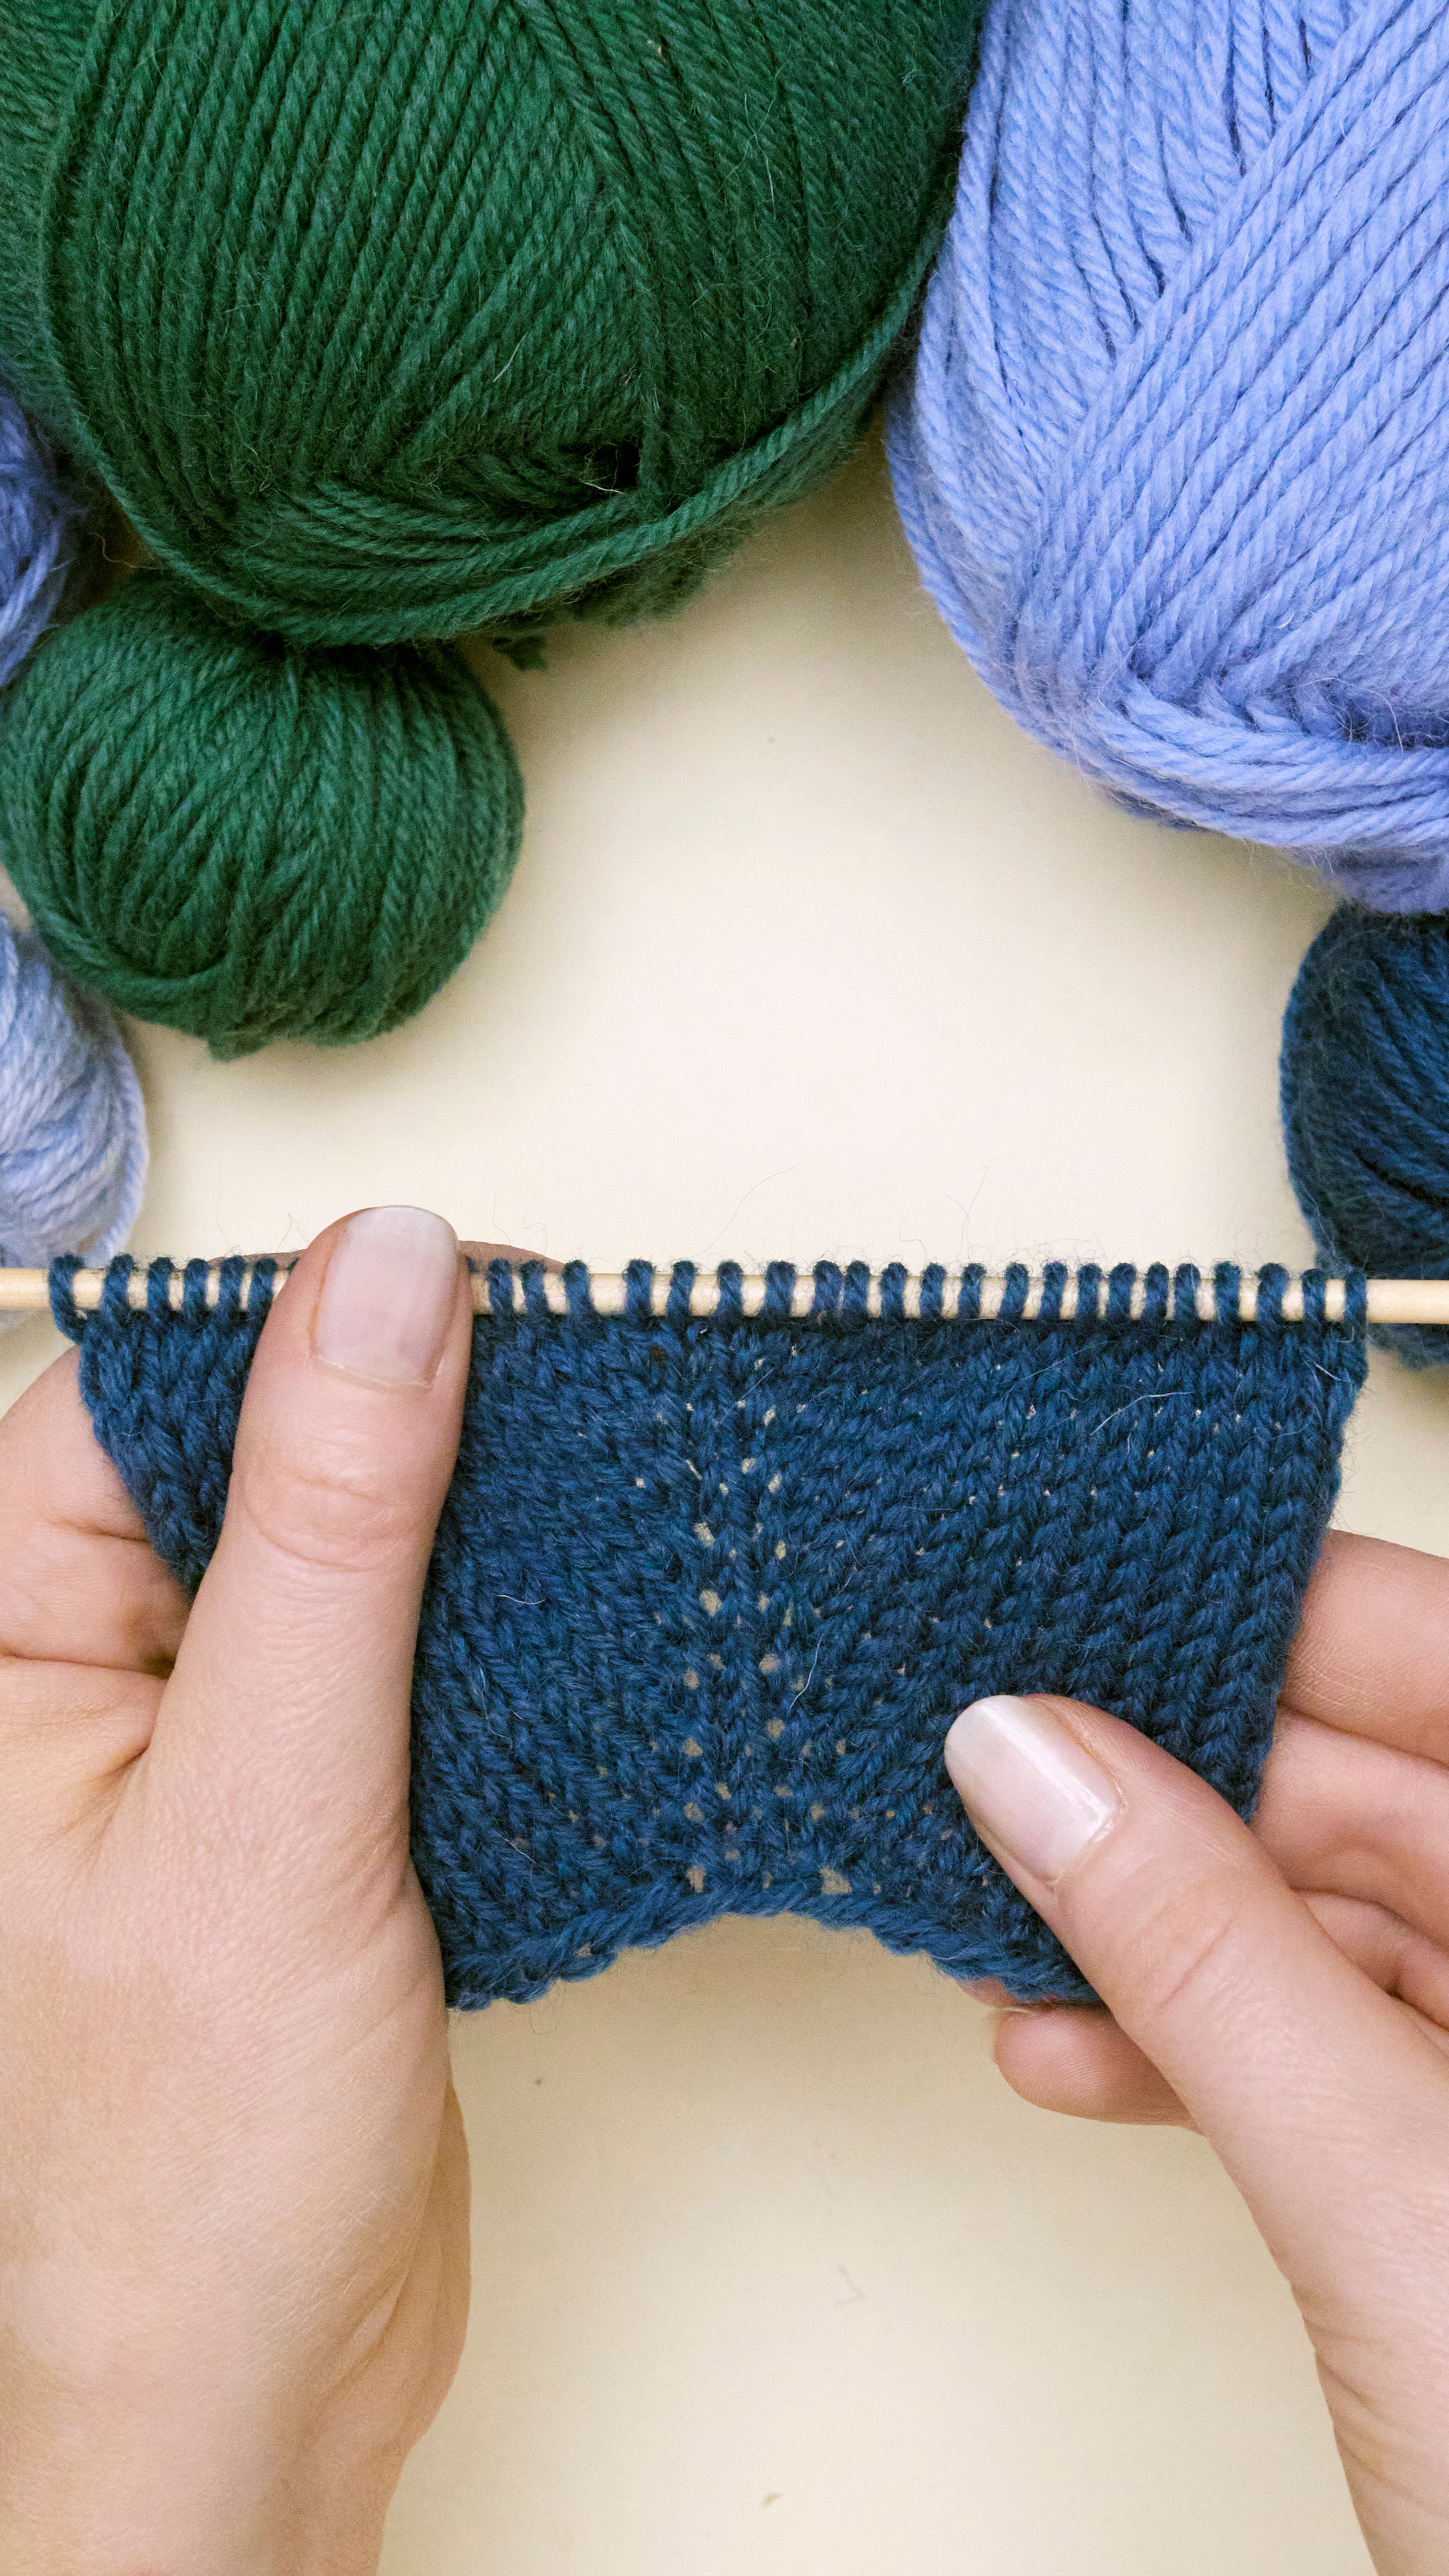
Novita Essentials
Essentials is the new Novita curated wardrobe for modern knitters and beginners.
Buy individual instructions as printable PDFs, learn new techniques in knitting school and get inspired by our styling tips.