 Buy Pattern
Intermediate
Check out our new Summer Collection - buy yarns and get the pattern for free!
See Yarns & PatternsCome and crochet with us! On 12 April, Novita's new Crochet-along started, where we crochet a beautiful cardigan in Novita's new Aura yarn.
Buy yarn and join us!
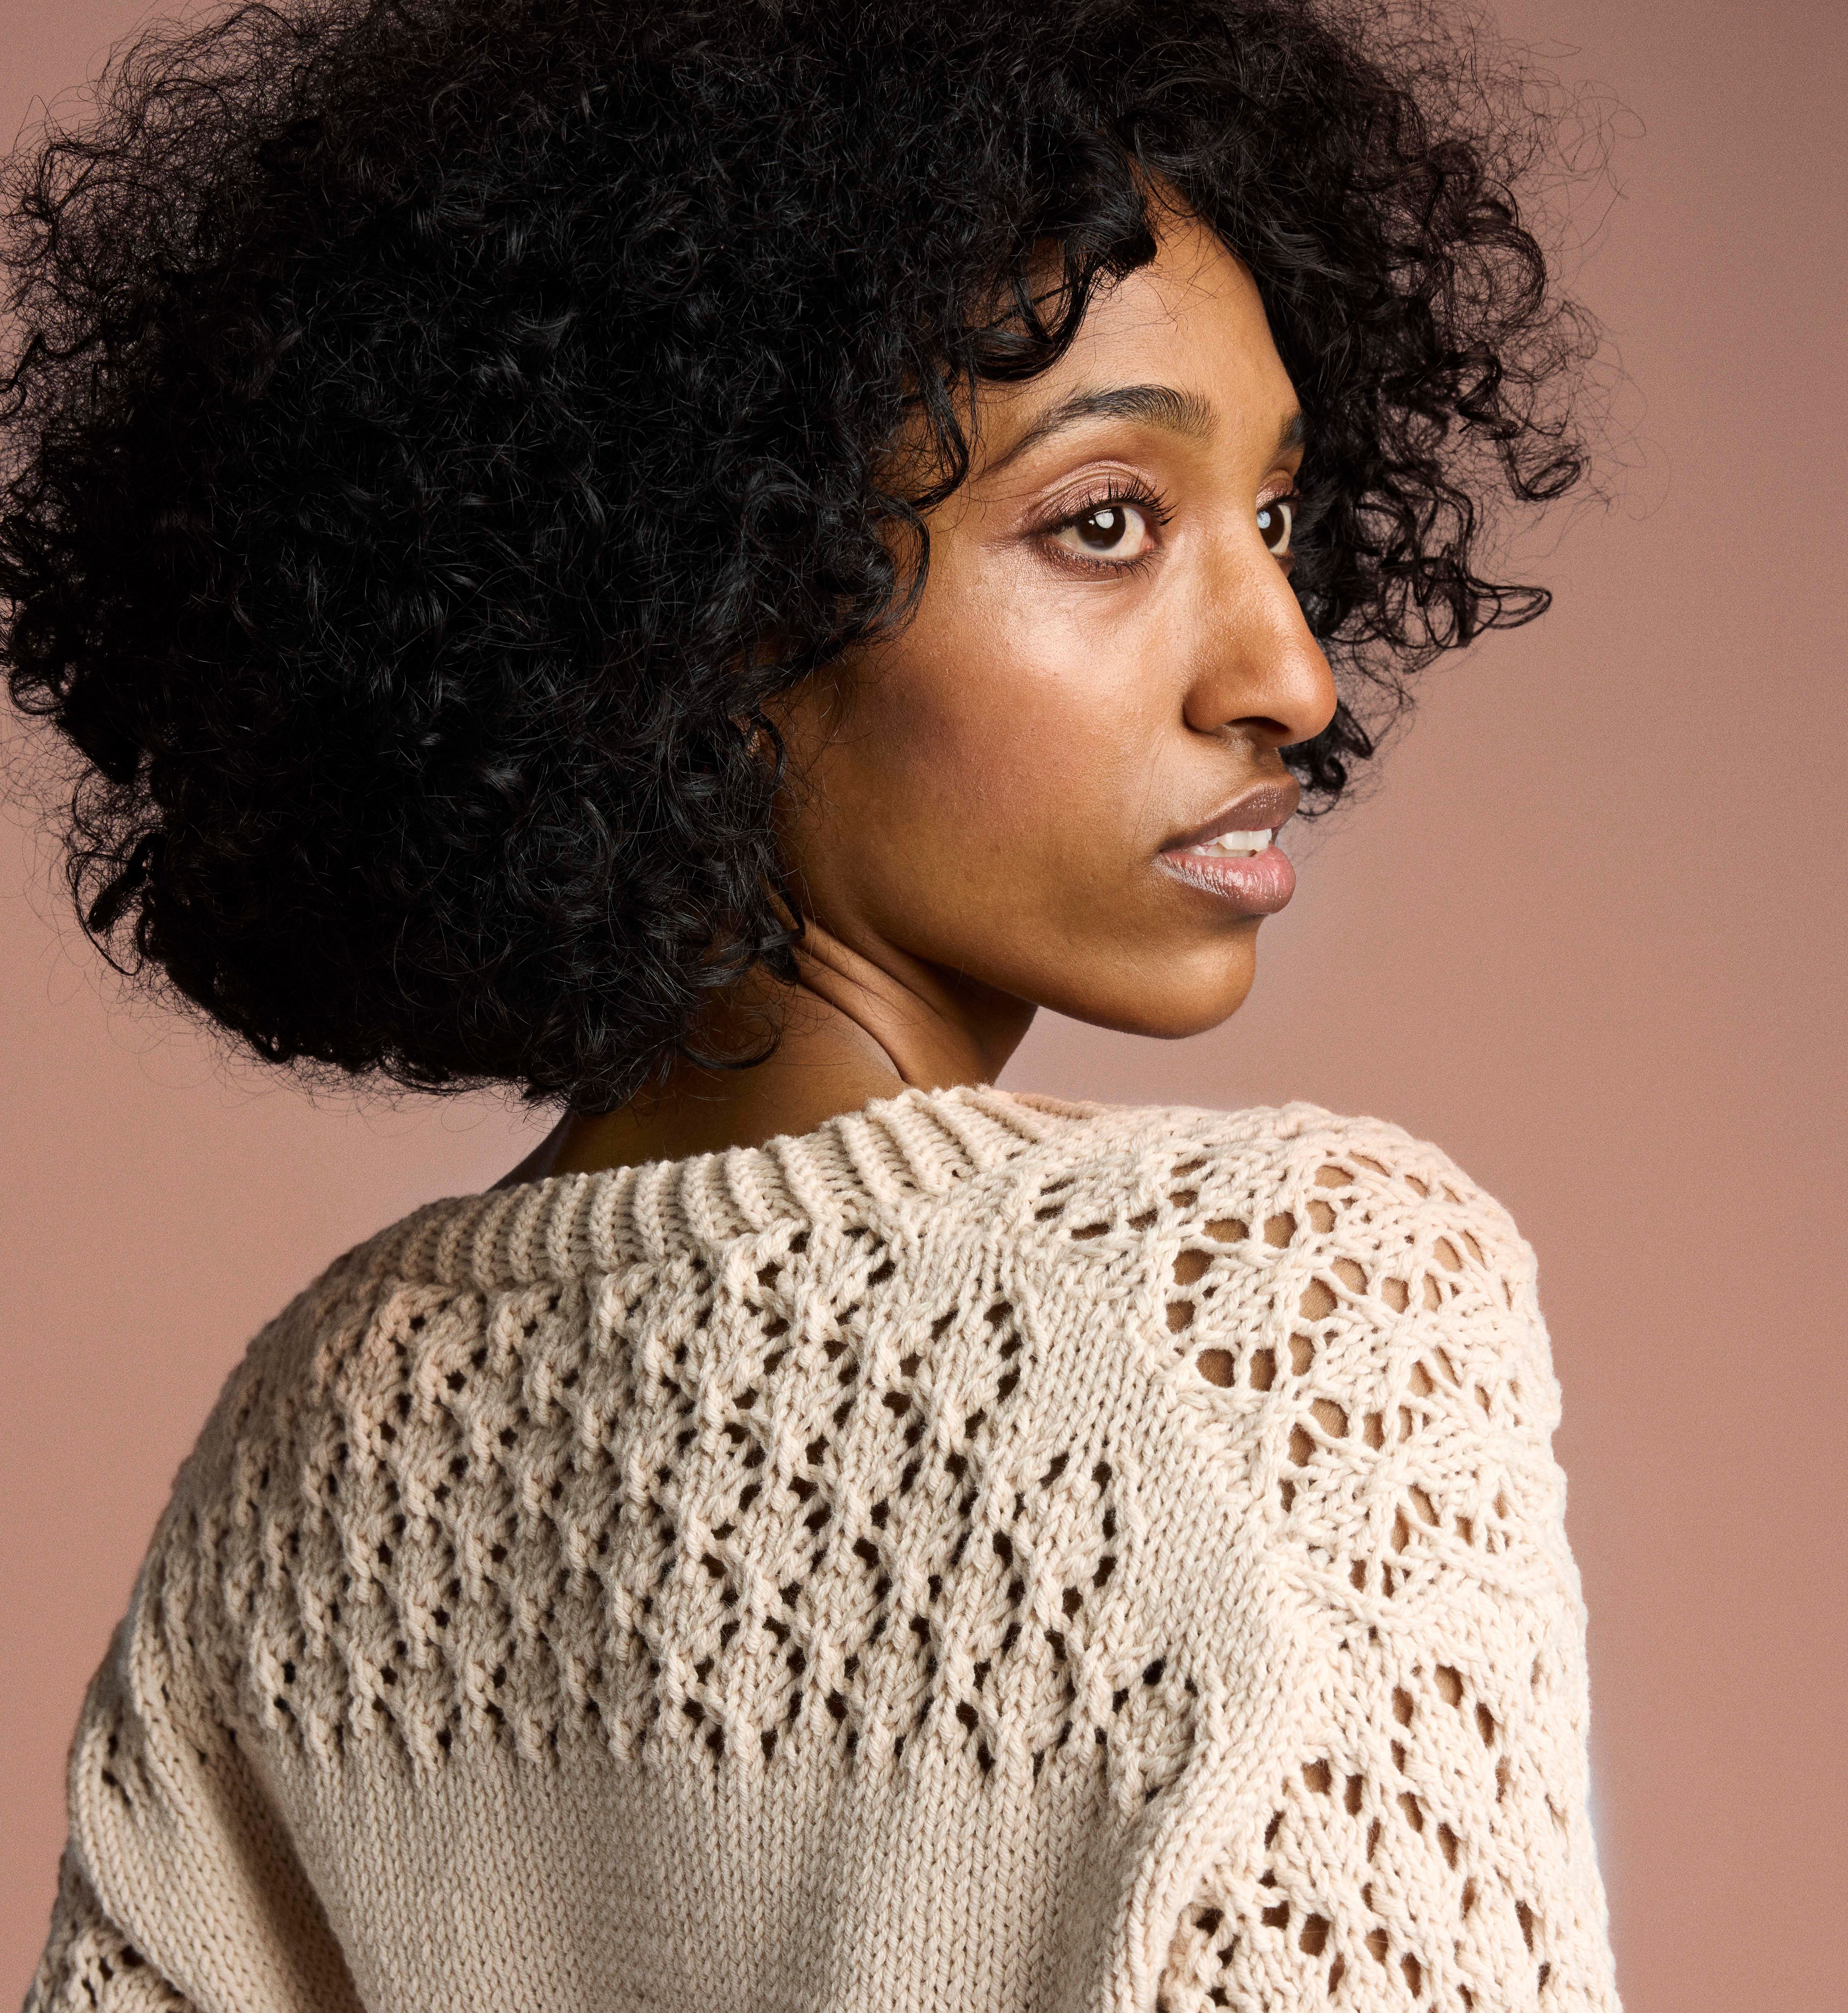
Buy PatternTime to cast on for your first summer project!
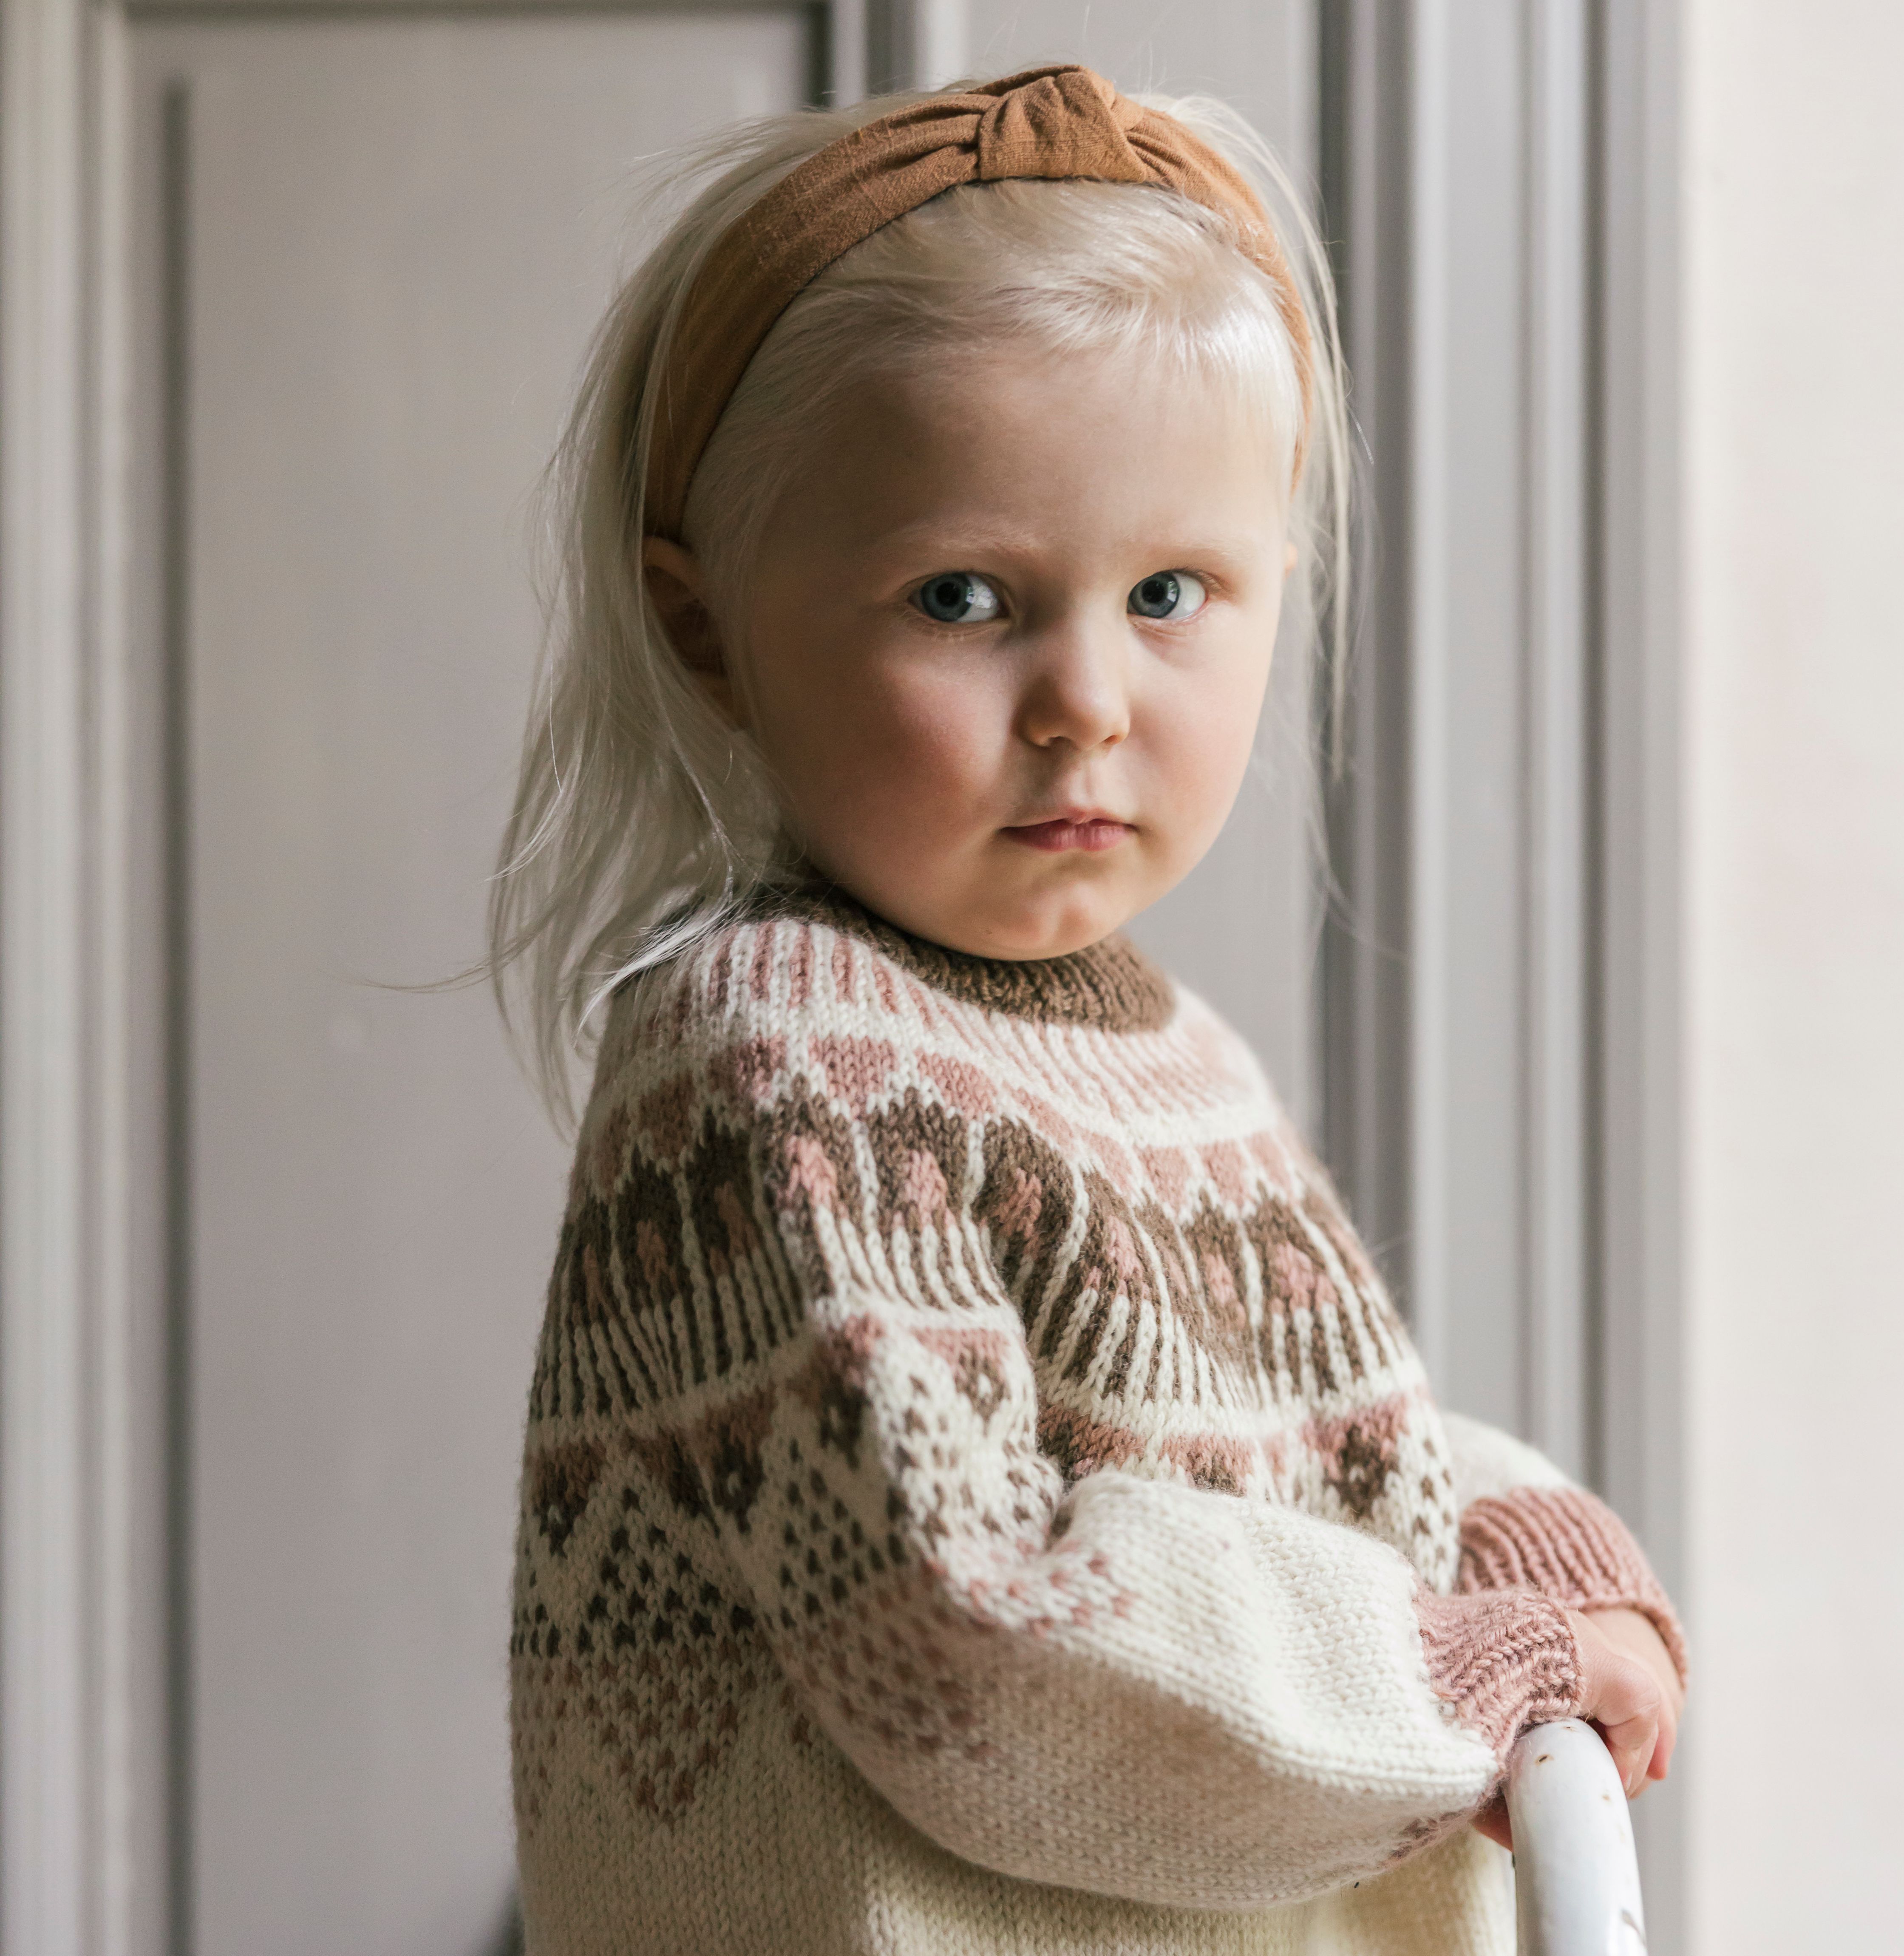
 Buy Pattern
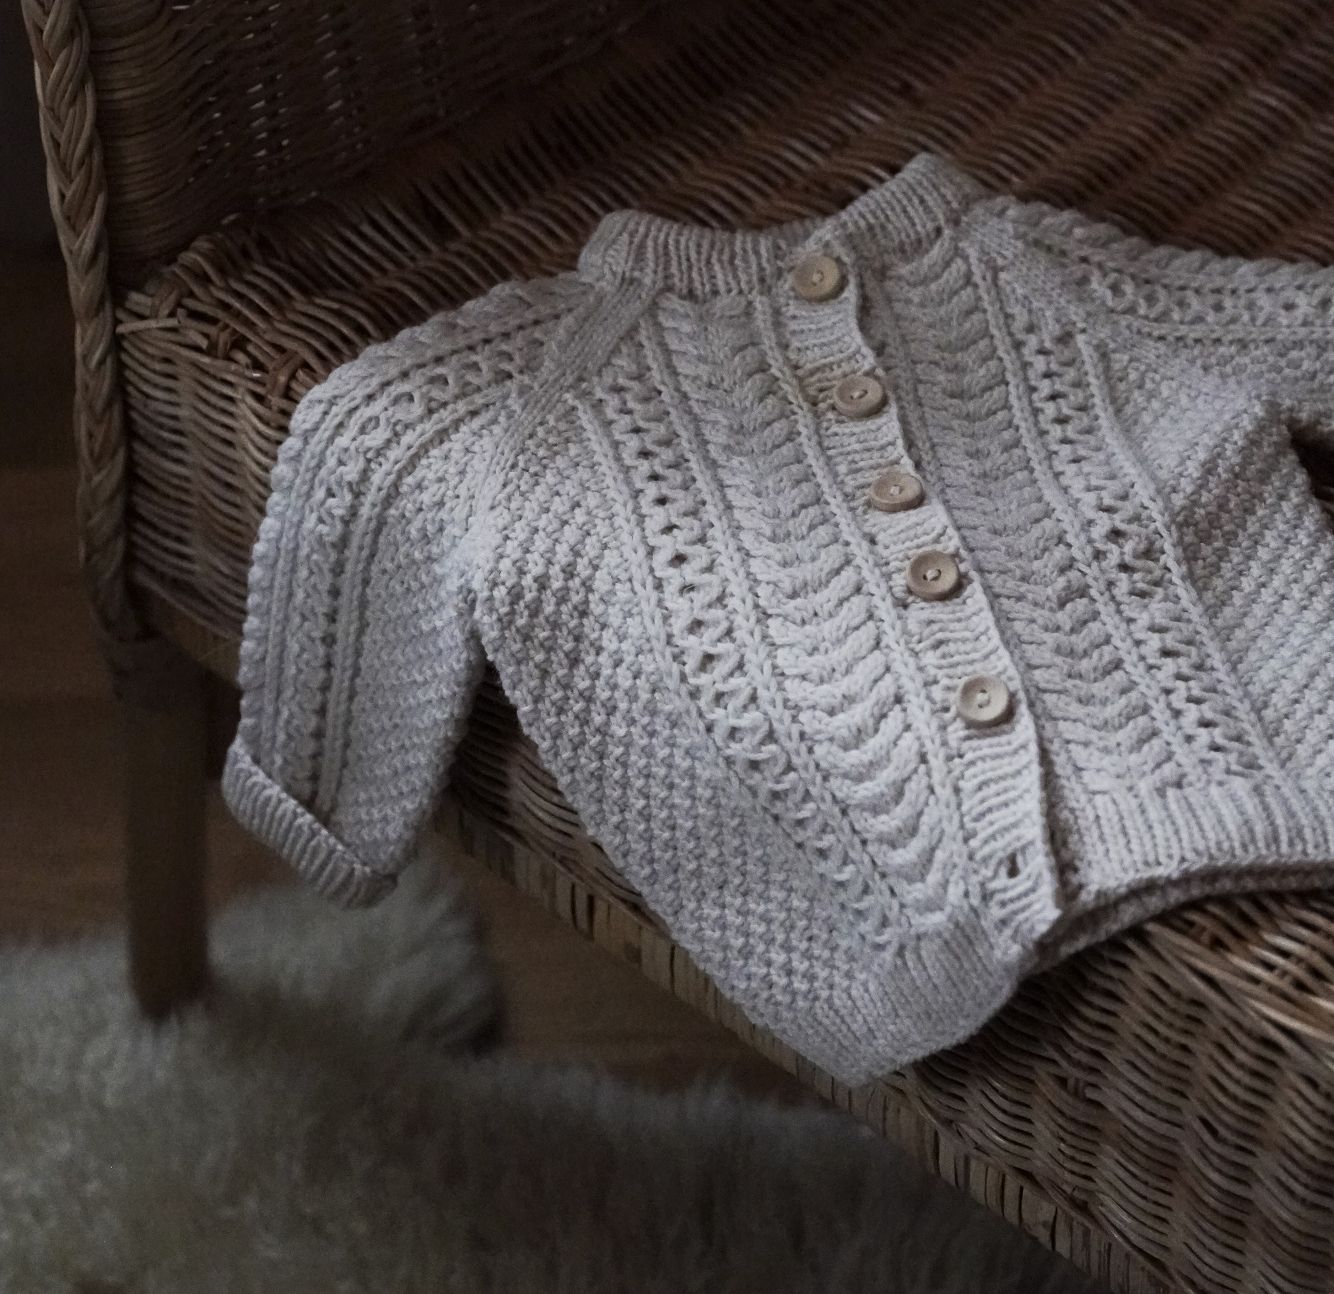
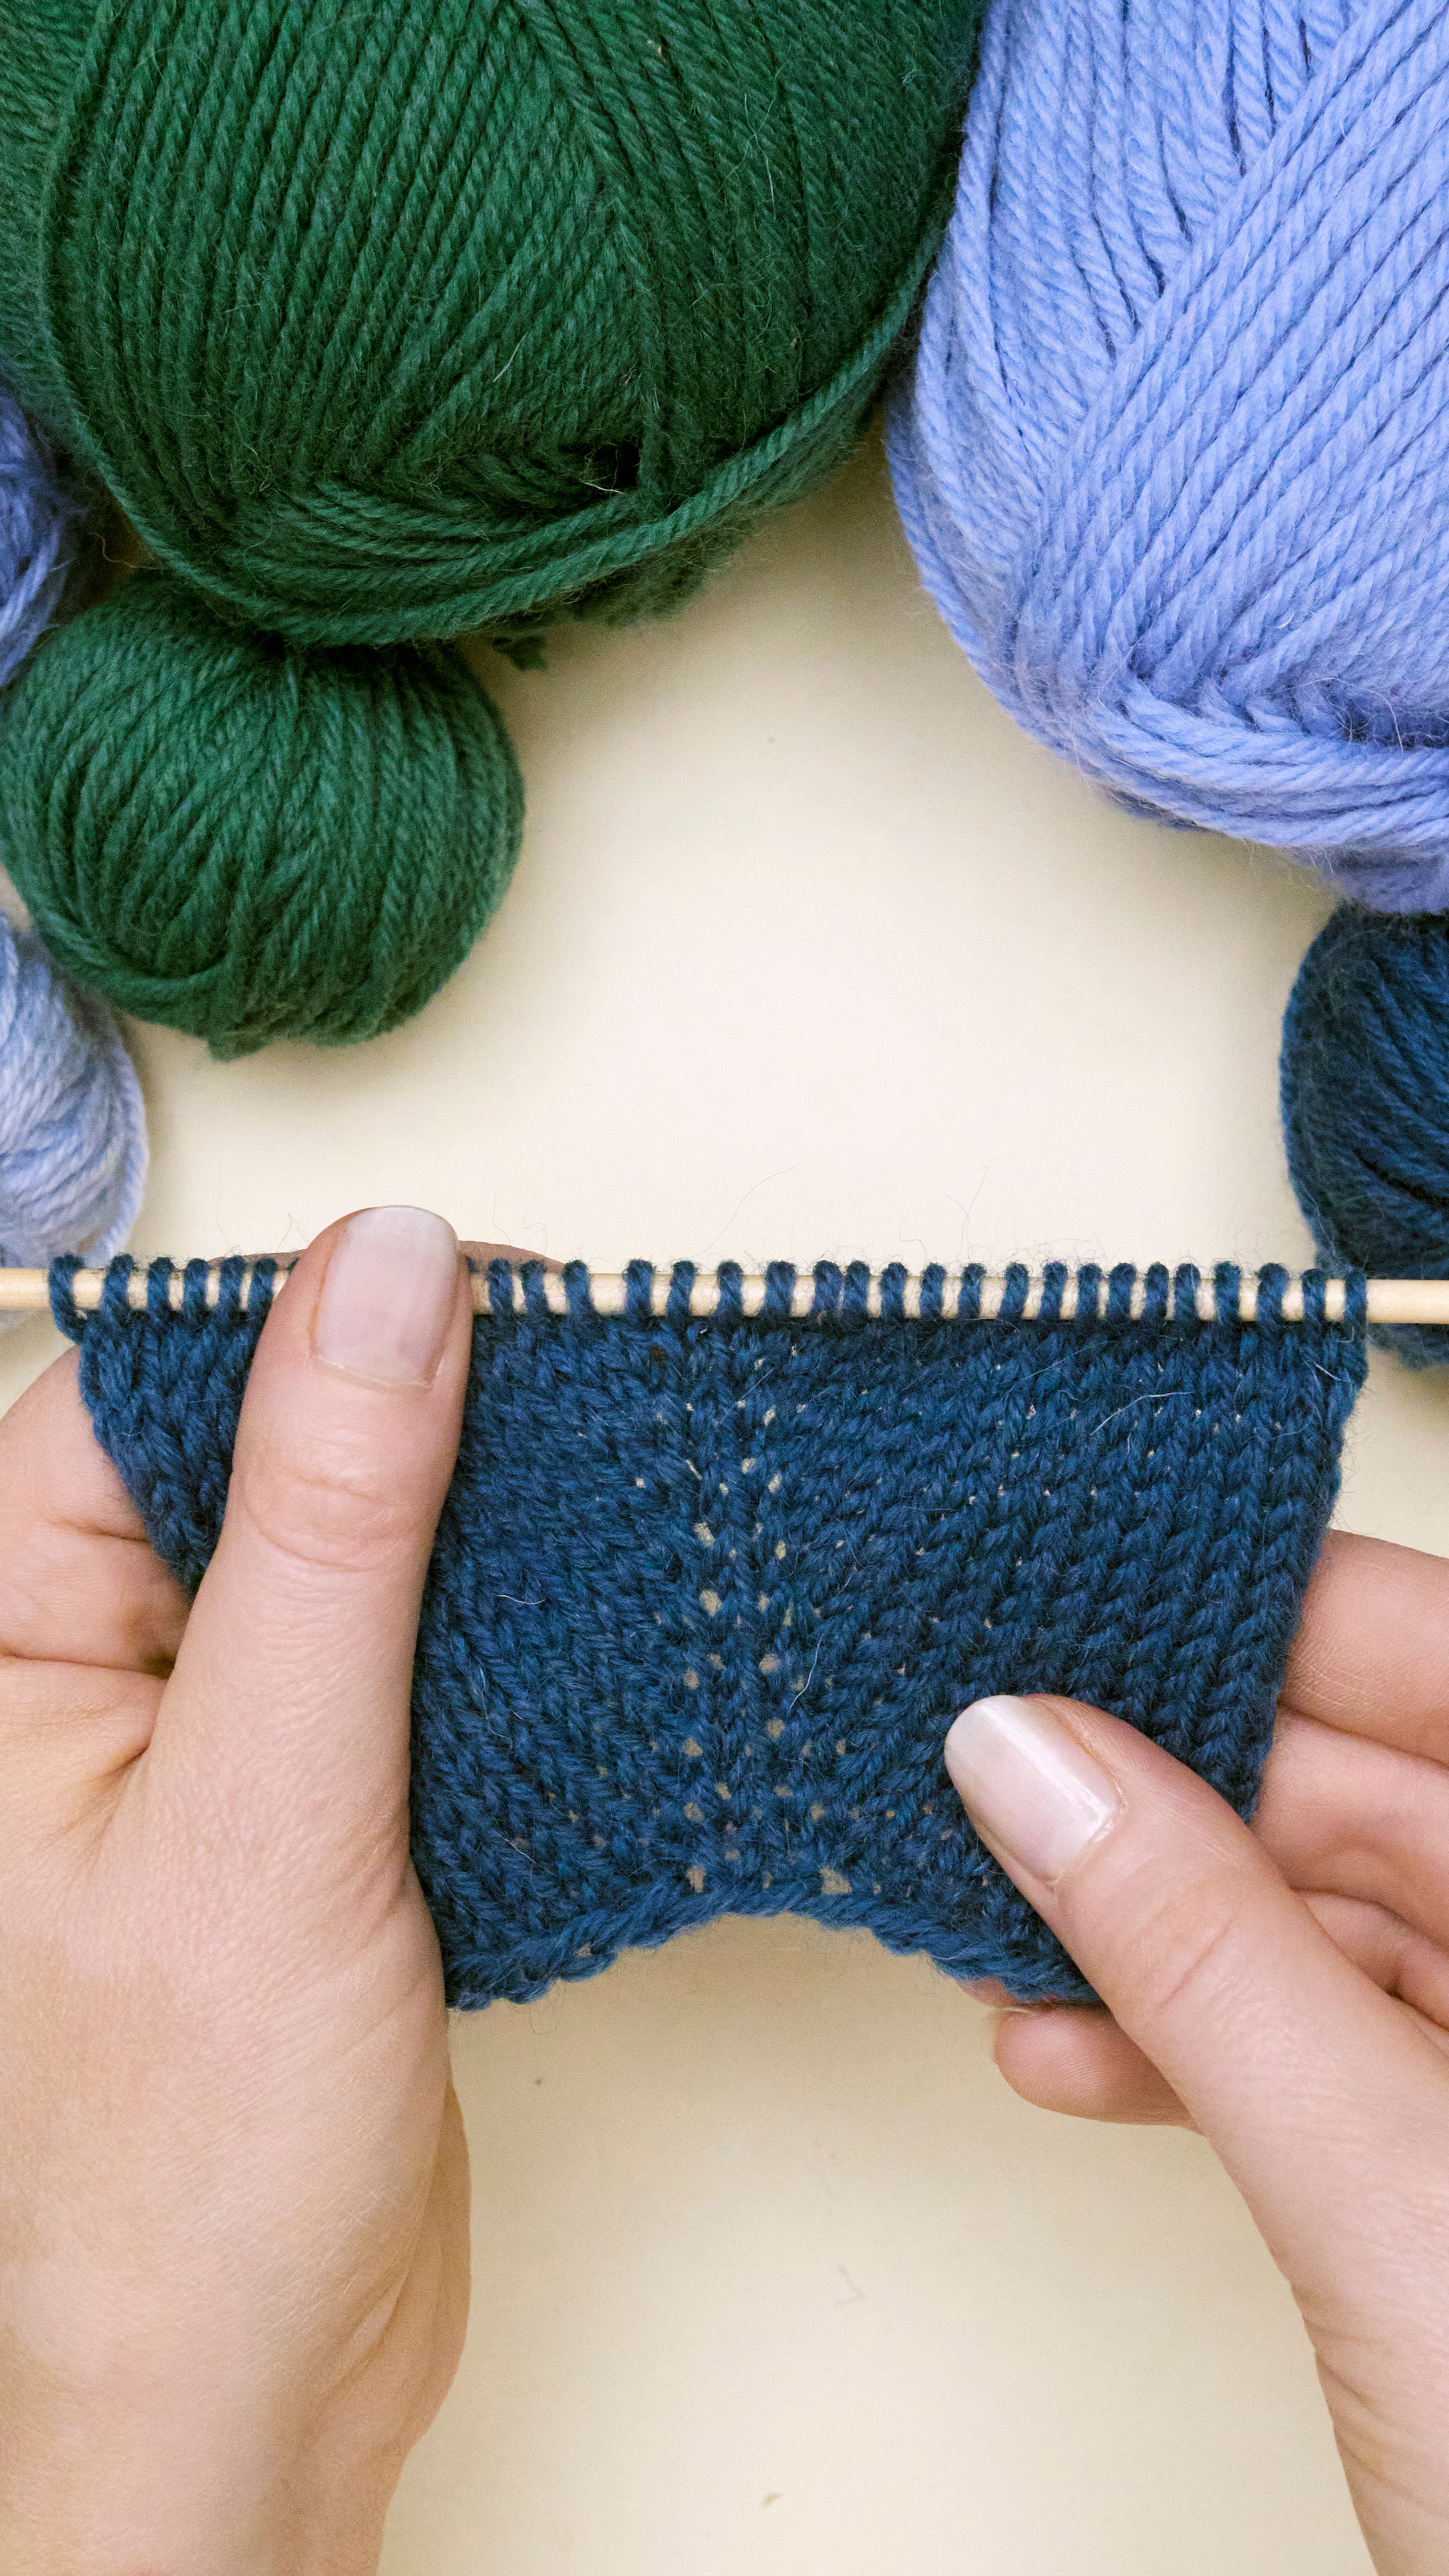
Novita Essentials
Essentials is the new Novita curated wardrobe for modern knitters and beginners.
Buy individual instructions as printable PDFs, learn new techniques in knitting school and get inspired by our styling tips.