Finnish Yarns and Design Since 1928
As low as €6.96
Availability: In stock
Using the Linen yarn and the smaller needles cast on 106(114)122(134) sts and begin ribbing on the WS with p2.
When the ribbing measures 5(6)6(6) cm and you have last worked a RS row, purl 1 row evenly increasing 0(2)2(0) sts = 106(116)124(134) sts.
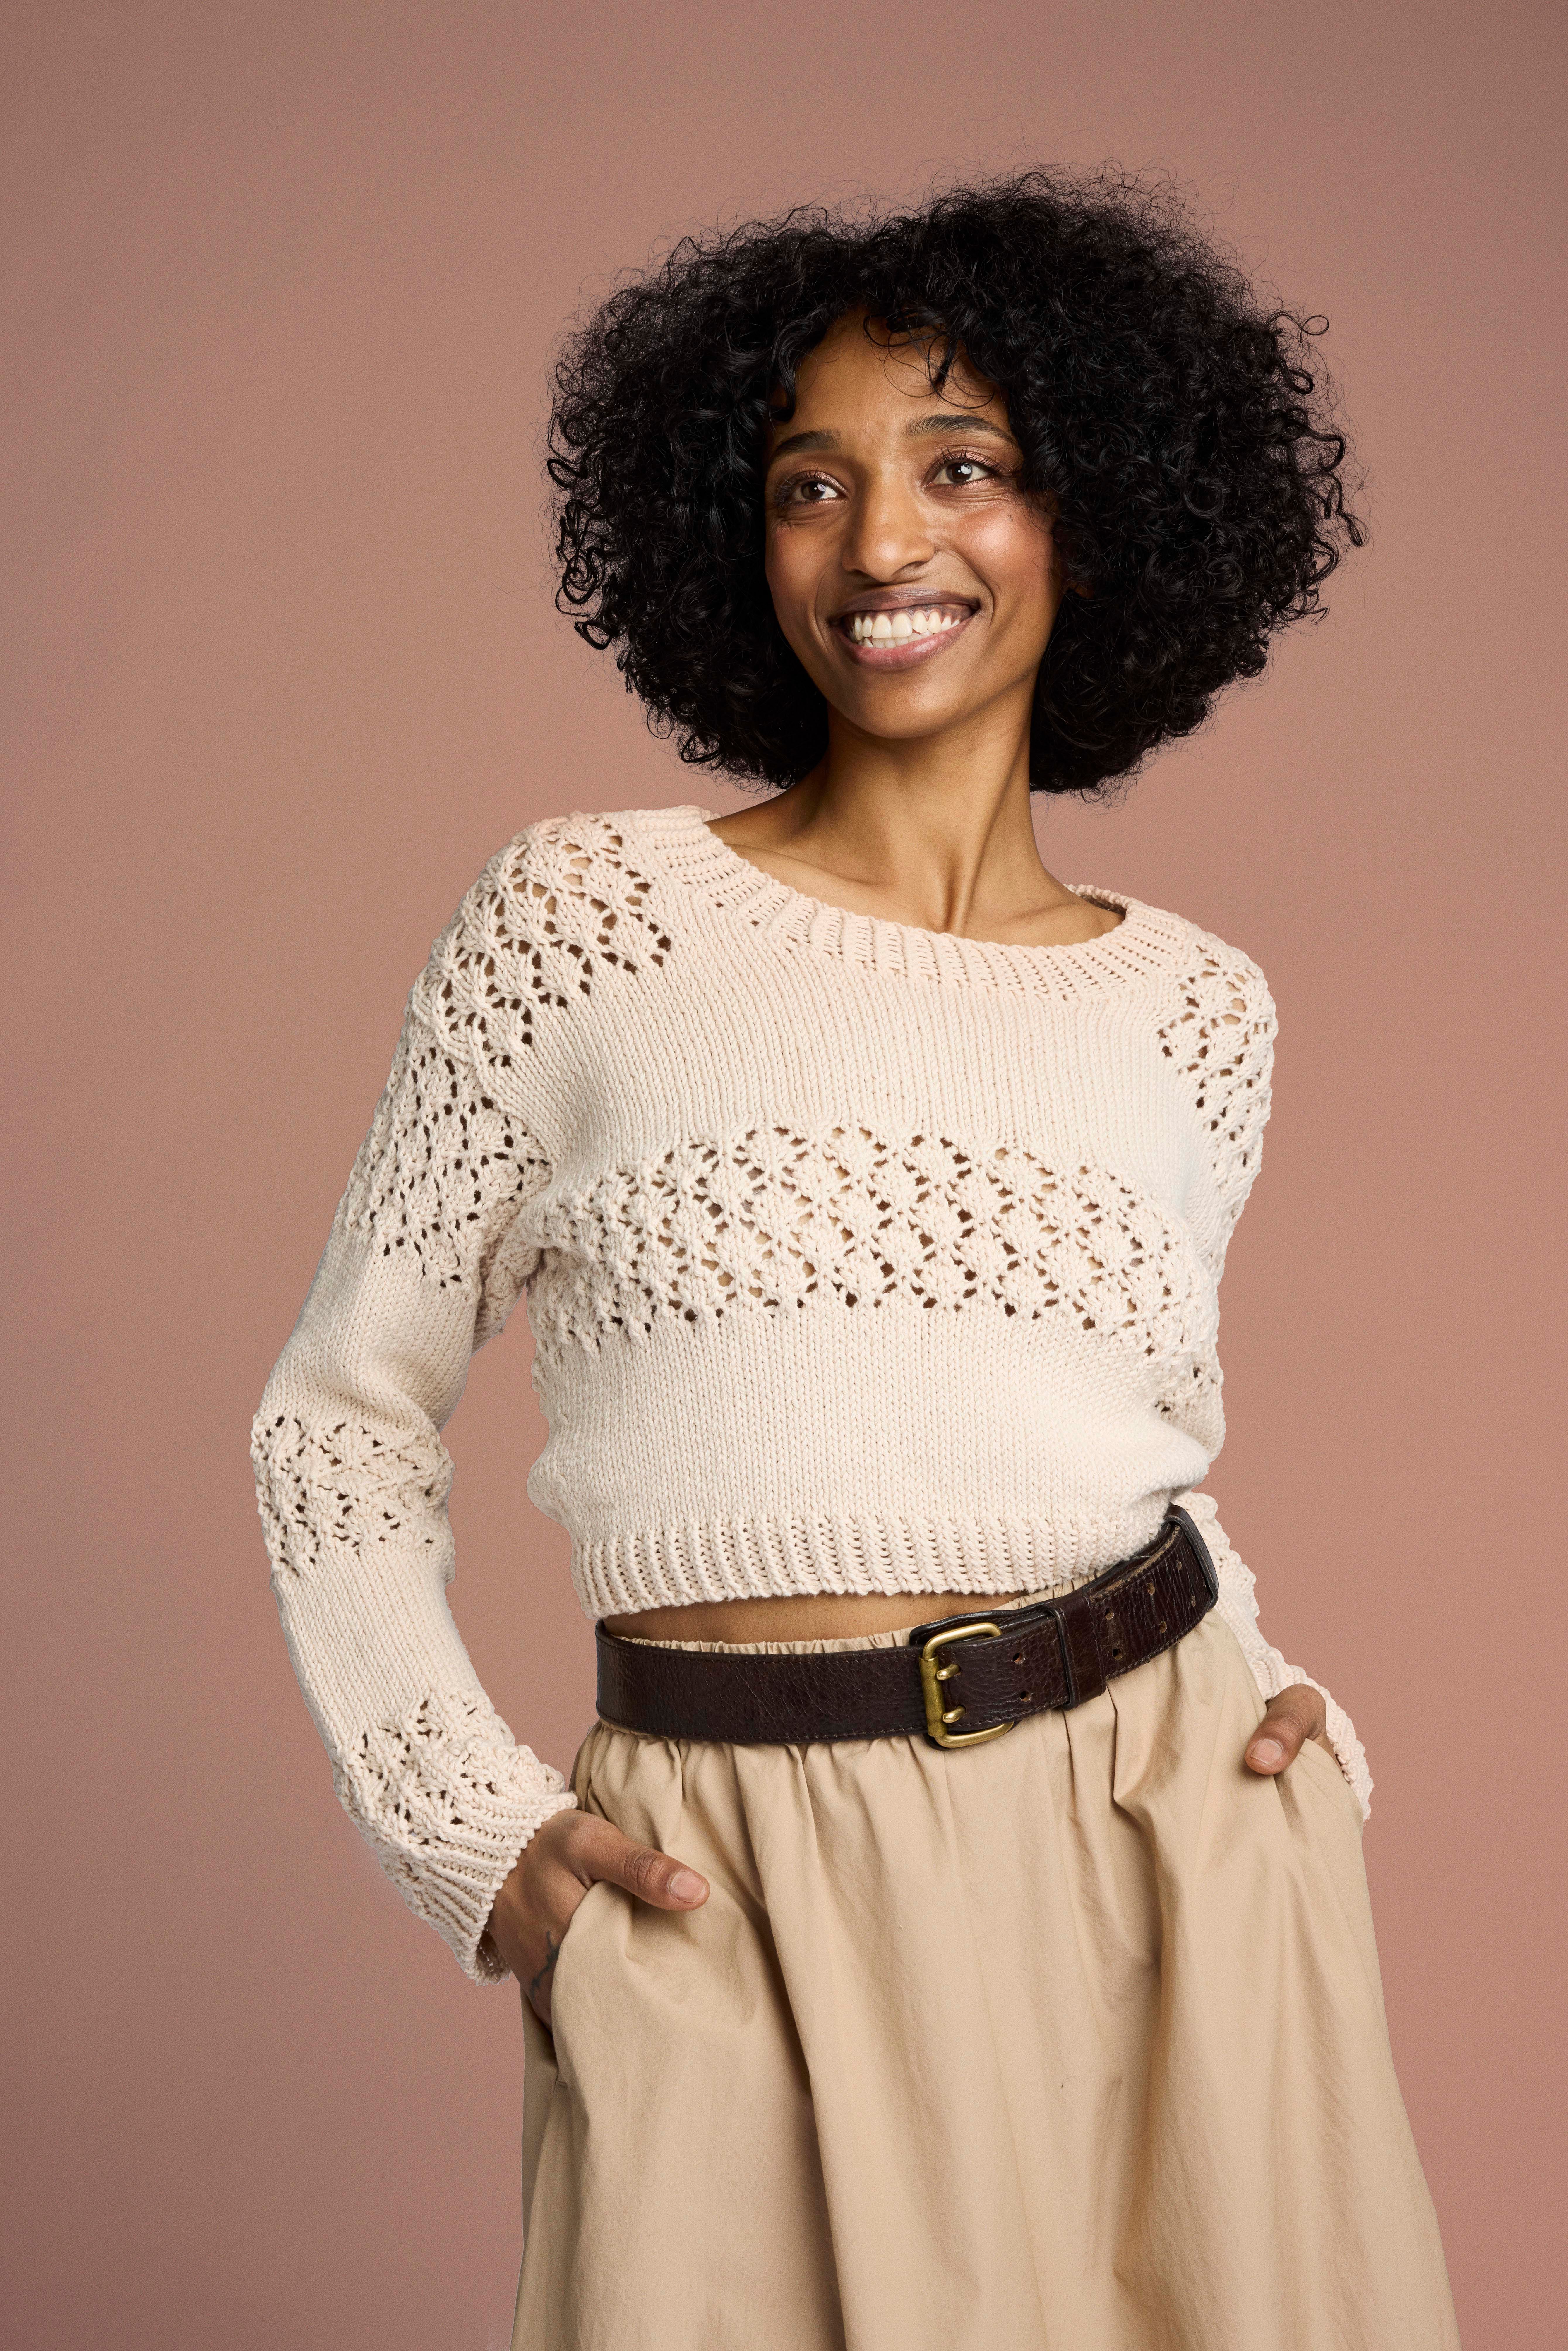
Switch to the larger needles. Begin the texture and intarsia pattern on row 9(9)5(1) of chart I: work the 92 st pattern and knit the remaining 14(24)32(42) sts using Linen. Keep working the 14(24)32(42) sts at the left end in stockinette st using Linen. At the right end, work rows 10(10)6(2)-80 of the chart. Note: The off-white details are embroidered on the finished work.
Continue on row 81 of chart II: work the 75 st pattern at the right end and work the remaining sts in stockinette st using Linen. Work rows 82-152 of the chart.
Note: When the piece measures 36(37)38(39) cm, place a marker (e.g. a piece of different-coloured yarn) for the bottom of the armhole at both ends.
After row 152 of chart II, continue on row 153 of chart III. Work the 74 st pattern at the right end and work the remaining sts in stockinette st using Linen. Work rows 154-188 as needed.
Note: When the armhole measures 20(21)22(23) cm, bind off the middle 26 sts for the neckline. Work one side at a time. On every other row bind off 4x2 sts at the neckline edge and at the same time on every other row bind off 3x6 sts and 2x7 sts (3x7 sts and 2x8 sts) 4x8 sts and 1x9 sts (4x9 sts and 1x10 sts) at the shoulder.
Knit the other side in the same manner.
Work like back but begin the neckline decreases when the armhole measures 16(17)18(19) cm. Leave the middle 14 sts on hold for the neckline. Work one side at a time. On every other row bind off 2x3 sts, 2x2 sts and 4x1 st at the neckline edge. Bind off the shoulder sts at the same spot as on the back piece.
Knit the other side in the same manner.
Using Linen and the smaller needles cast on 48(50)50(52) sts and work ribbing for 5(6)6(6) cm.
Switch to the larger needles and work stockinette st.
When the piece measures 16(14)12(11) cm, increase 1 st at both ends: work 2 sts, increase 1 st (= knit the strand of yarn between the sts through the back loop), work to last 2 sts, increase 1 st, work to end. Repeat the increases every 1,5 cm 17(19)21(22) more times = 84(90)94(98) sts.
When the piece measures 43(44)45(46) cm, bind off.
Knit the other sleeve in the same manner.
Pin to measurements, mist on the wrong side and allow to dry.
Embroider the off-white details following the chart.
Sew the shoulder seams.
Neckline edge: Place the sts you left on hold on the circular needle and using Linen pick up and knit additional sts from the neckline edge for 116(120)120(124) sts in total. Start at one of the shoulder seams.
Work ribbing in the round for 15 cm. Bind off in pattern.
Attach the sleeves following the red marks on the pattern.
Sew the side seams and sleeve seams.
Have you just learned to knit, maybe still trying to figure out the very basics like knit and purl stitches? Or are you picking up knitting again for the first time since elementary school? Start here.
Beginner-level patterns include only basic knitting techniques: knitting and purling. You’ll also need to cast on and cast off stitches. The projects can be worked flat or in the round. Easy, regular decreases are used. Most patterns are worked in stockinette or garter stitch. Other simple stitch patterns may occur, and they are always detailed in the written pattern. Stripes of different colours may be used, but no more advanced colourwork.
All patterns are written and do not include charts. Abbreviations are not used. Getting gauge is not crucial to the finished piece. Patterns include mostly accessories such as scarved and beanies. Pillowcases and other home decoration pieces.
Got the basics covered? You’d like to take a swing at your first pair of socks, perhaps some easy cables or colourwork? A treasure of patterns awaits you on this level.
Patterns on this level may include simple colourwork, cables or lace. Colourwork patterns repeats are relatively short, cables simple and symmetrical and lace patterns easy and relatively small, covering details rather than entire pieces. The colourwork, cable and lace stitches are not worked into decreases or increases. Colourwork yarn floats are short, max. 3-4 stitches. Picking up stitches may occur. On this level, you’ll also find easy patterns using domino knitting, log cabin knitting or tunisian crochet.
Patterns may include simple charts. In case special techniques are employed, they are detailed our in the instructions, either as text or e.g. through videos. The patterns may also suggest ”shortcuts”, i.e. easier ways to accomplish a technique. Most of the basic socks with heel flaps or afterthought heels are on this level, as well as mittens with no-gusset thumbs. There’s also plenty of sweaters, usually yoke sweaters or raglan sleeve sweaters.
So knitting is a regular hobby for you? Abbreviations, charts and instructions are no more than a walk in the park? Perhaps you’re looking for something to challenge yourself with, even at the odds of frogging?
In addition to basic techniques, some special techniques may be employed on this level, e.g. short rows. The same pattern may include both lace and cables. Magic loop knitting or entrelac, two-coloured brioche stitch, also here. In general, patterns require a more advanced ability to "read" your knitting. Lace patterns are also more advanced than on the previous level, but the lace stitches are still worked on right side only. Intarsia may be included, but in relatively simple and symmetrical patterns.
Patterns on this level can feature concurrent shaping, e.g. neckline shaping at the same time as sleeve decreases or sleeve decreases into cable pattern. Sweater sleeves may require more advanced shaping. Most of our sweaters are at this level. Other patterns include e.g. magic loop patterns and toe-up socks.
Turn off that telly and lash the doors, maximum concetration required! Although this skill level doesn’t bring much more in terms of technique, there’s simply more going on at the same time. Skill, concentration and perception are requisite.
On this level, you’ll find more advanced intarsia patterns, including intarsia in the round. Brioche patterns with decreases and/or cables are also here. Beginning of rounds may shift and multiple markers are needed. Lace or cable stitches may be worked also from wrong side. We’ve also included patterns featuring steeks here. Steeking isn’t hard as such, but requires the nerves and confidence of an experienced knitter.
Patterns may include complex steps and require simultaneous reading of both charts and written instructions. Gauge may vary over different steps of the project. The patterns often feature much details and a combination of techniques. The size of the project is not what determines whether it’s advanced or not; focus is on technique, overall complexity and the risk of errors during the project.
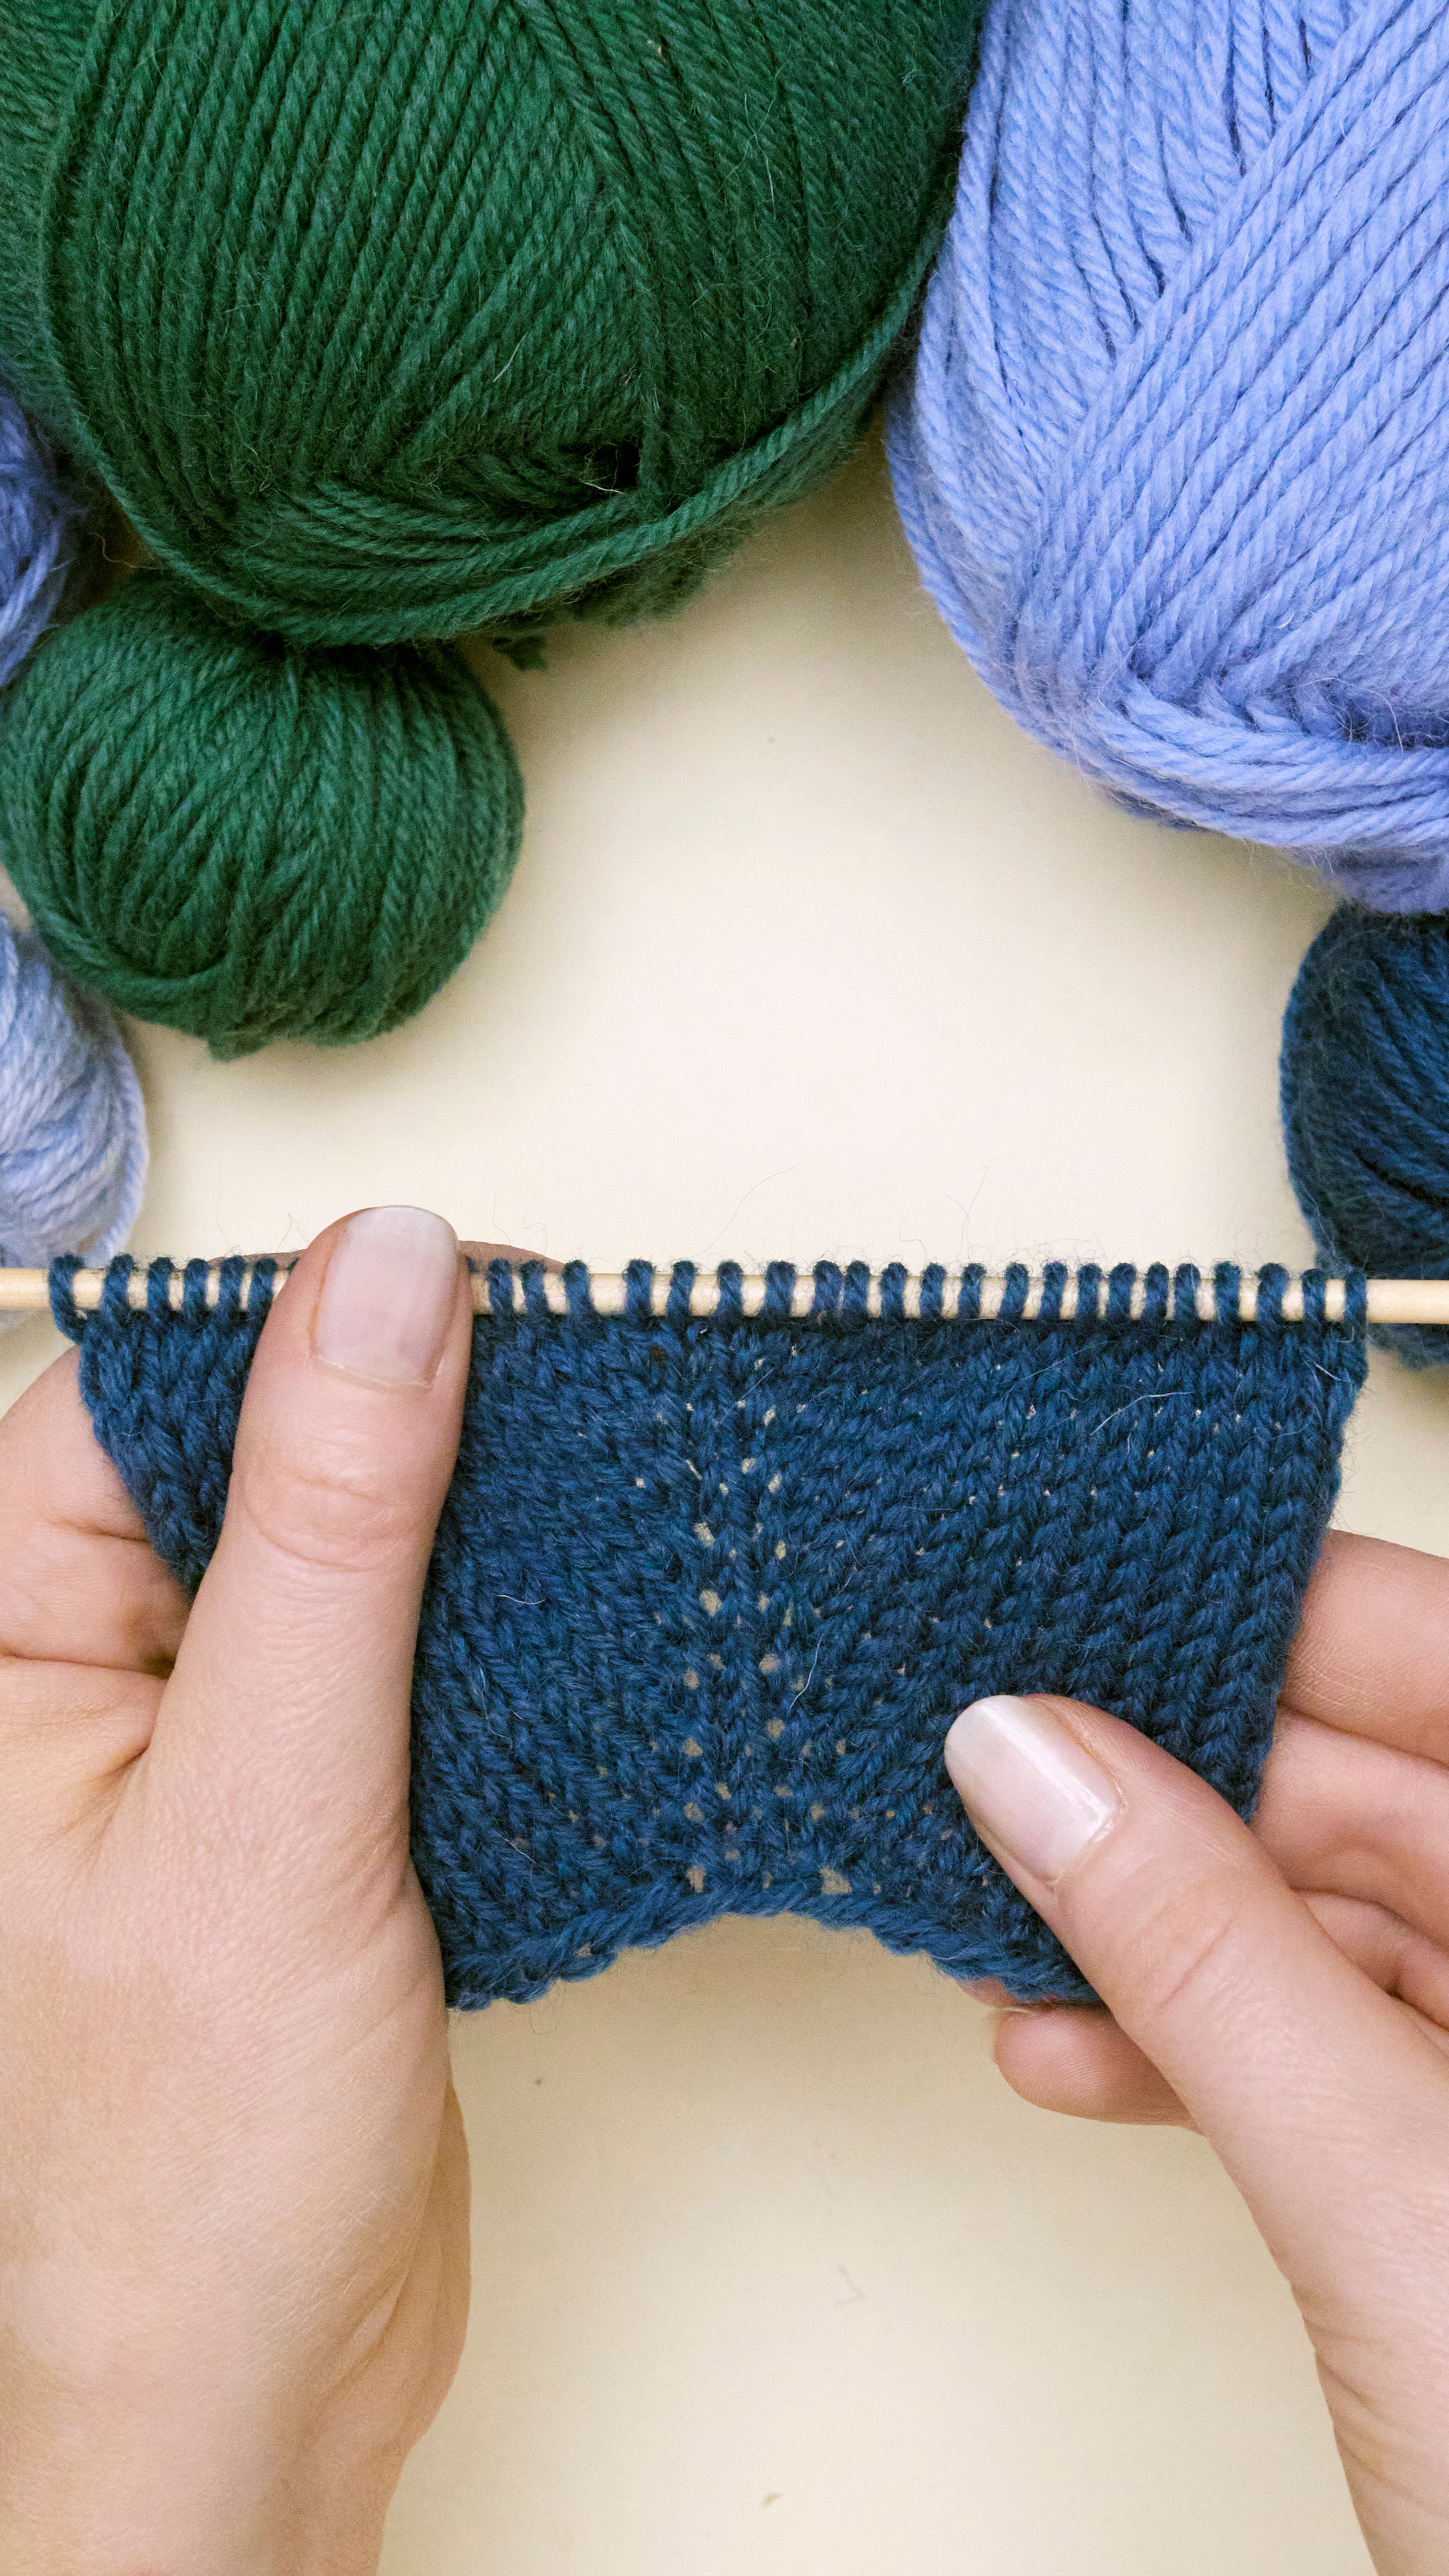
Every pattern is based on a certain gauge, expressed as stitches or rows per 10 cm. It is important that you make a swatch to check your gauge before you start the actual project. If your gauge doesn’t match the pattern’s gauge, your finished garment won’t be the correct size either.
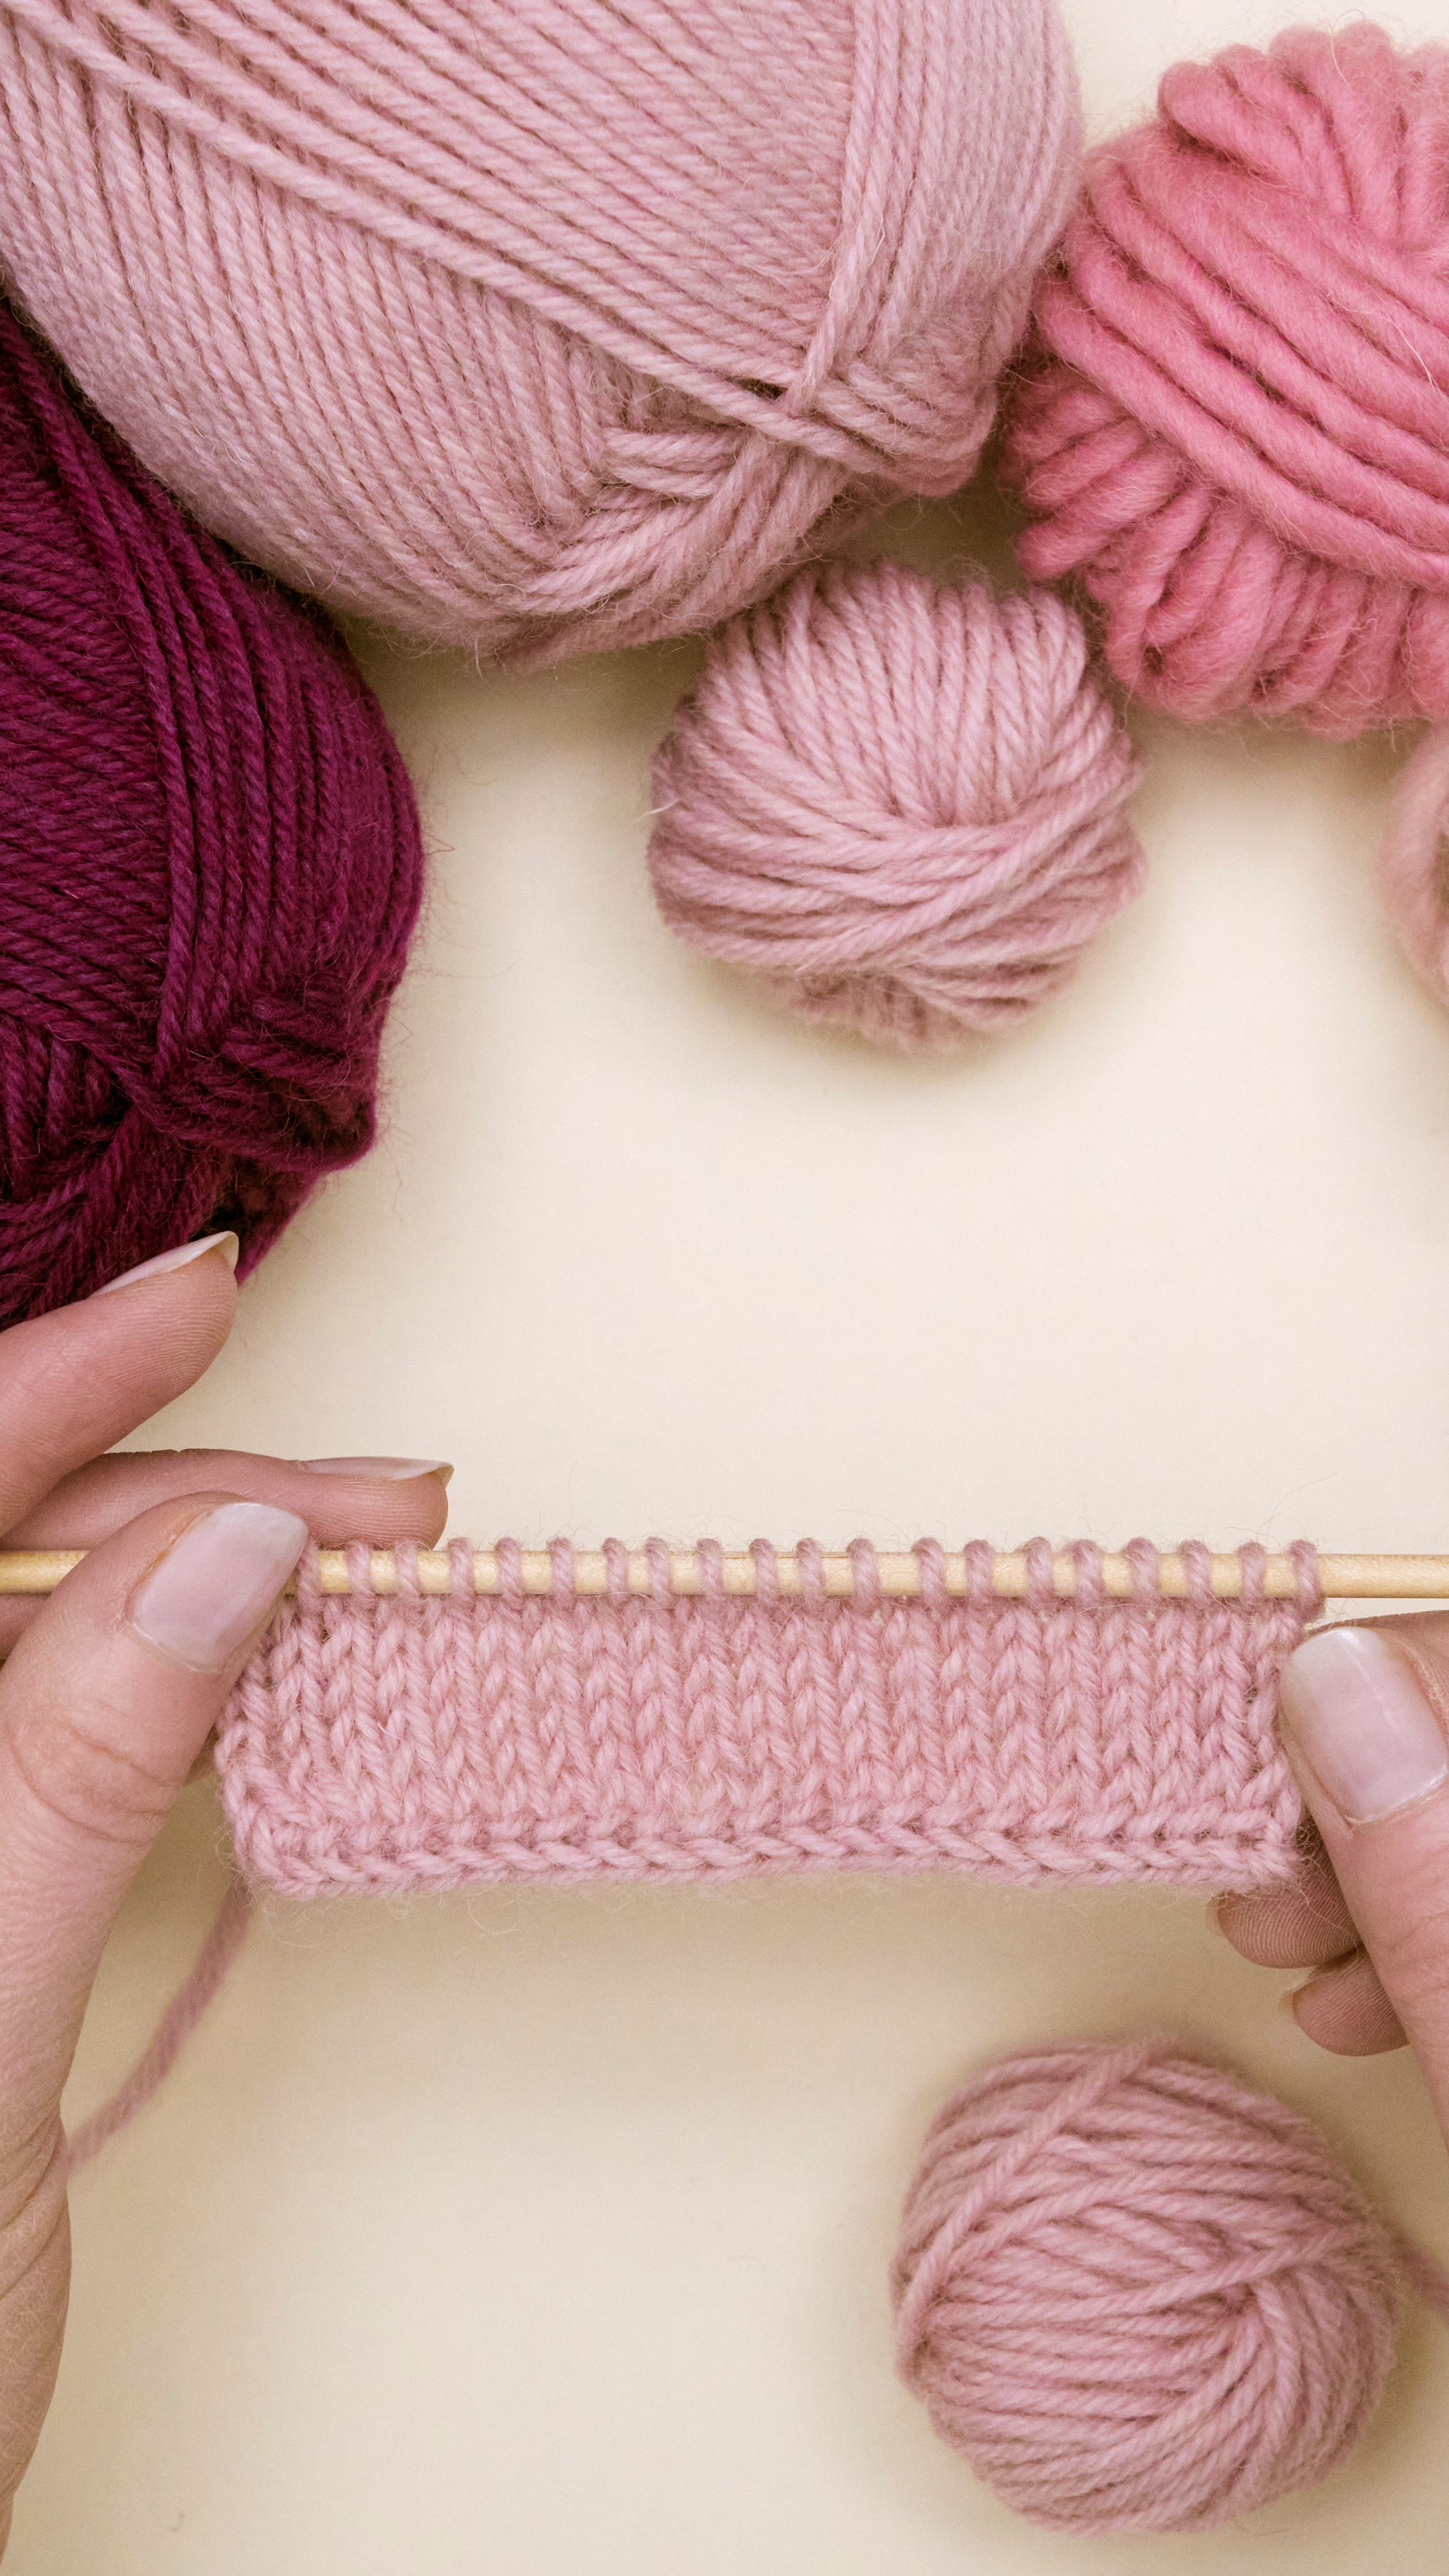
Swatching Start by knitting a swatch. Use the yarn, the needles and the stitch pattern you intend to use in the project. Make the swatch a little wider than 10 cm, so that you’ll be able to measure the stitches properly. Block the swatch by pinning it to a surface, then steam it gently. Count the stitches; put a pin in a stitch, then measure 10 cm from that stitch and put another pin there. Count the stitches from pin to pin – that’s your gauge! If needed, measure both horizontal and vertical gauge (rows). If you’re measuring rib or brioche stitches, stretch out the swatch slightly before measuring.
If your gauge doesn’t match the pattern gauge, you can adjust it by switching needle size. If your swatch has too few stitches per 10 cm (i.e. your knitting is too loose), switch to smaller needles. Conversely, if your swatch has too many stitches per 10 cm, your knitting is too tight and you’ll need a larger pair of needles. Always knit another swatch in order to determine proper gauge and sizing. Also note that the pattern yardage only applies to the pattern yarn, the yardage may differ if you choose another yarn.